Creating a stunning rock garden doesn’t require acres of space or a massive budget. We’ve discovered that small rock gardens can pack just as much visual punch as their larger counterparts while offering unique opportunities for creative design and low-maintenance landscaping.
Whether you’re working with a compact backyard corner or a tiny front yard space we’ll show you how to transform even the smallest areas into captivating stone sanctuaries. These miniature landscapes combine the rugged beauty of natural rocks with carefully selected plants that thrive in rocky conditions.
From alpine-inspired arrangements to modern minimalist designs we’ve compiled practical ideas that’ll help you maximize every square foot of your available space. You’ll learn how to create depth texture and year-round interest while keeping maintenance to a minimum – perfect for busy homeowners who want maximum impact with minimal effort.
Choose the Perfect Location for Your Small Rock Garden
Selecting the right spot sets the foundation for your rock garden’s long-term success. We need to evaluate several key factors that directly impact plant health and garden maintenance.
Consider Sunlight Requirements
Most rock garden plants thrive in full sun conditions, requiring at least 6-8 hours of direct sunlight daily. We recommend observing your potential locations throughout different times of day to track sun patterns and shadow movements.
Alpine plants like sedums, hens and chicks, and creeping phlox demand bright conditions to develop their compact growth habits and vibrant colors. Locations with morning sun exposure help dry overnight moisture from leaves, preventing fungal diseases that commonly affect rock garden specimens.
We should avoid areas under large trees or beside tall structures that create prolonged shade periods. South-facing slopes or open areas away from building shadows provide optimal light conditions for most rock garden varieties.
Evaluate Drainage Conditions
Proper drainage ranks as the most critical factor for rock garden success since waterlogged soil kills alpine plants faster than drought conditions. We must test drainage by digging a 12-inch deep hole and filling it with water to observe how quickly it empties.
Areas that drain within 4-6 hours work well for rock gardens, while spots holding water for 24 hours or longer need important soil amendments or alternative locations. Natural slopes provide excellent drainage, making hillsides and raised areas ideal choices for our rock garden placement.
We should identify low spots where water collects after rainfall and avoid these areas entirely. Installing rock gardens on gentle inclines or creating artificial slopes ensures water moves away from plant roots effectively.
Plan for Accessibility and Viewing
Strategic placement enhances both maintenance ease and visual impact throughout your industry design. We recommend positioning rock gardens within comfortable walking distance from main pathways or patios for regular care and enjoyment.
Visibility from windows or outdoor seating areas maximizes the garden’s aesthetic value during different seasons. Front yard locations near entryways create welcoming focal points, while backyard spots offer peaceful retreat spaces for relaxation.
We need to ensure wheelchair or tool access if mobility considerations apply to garden maintenance. Pathways should accommodate wheelbarrows for seasonal mulching or plant replacements without damaging surrounding industry features.
Select the Right Rocks and Stones for Your Design
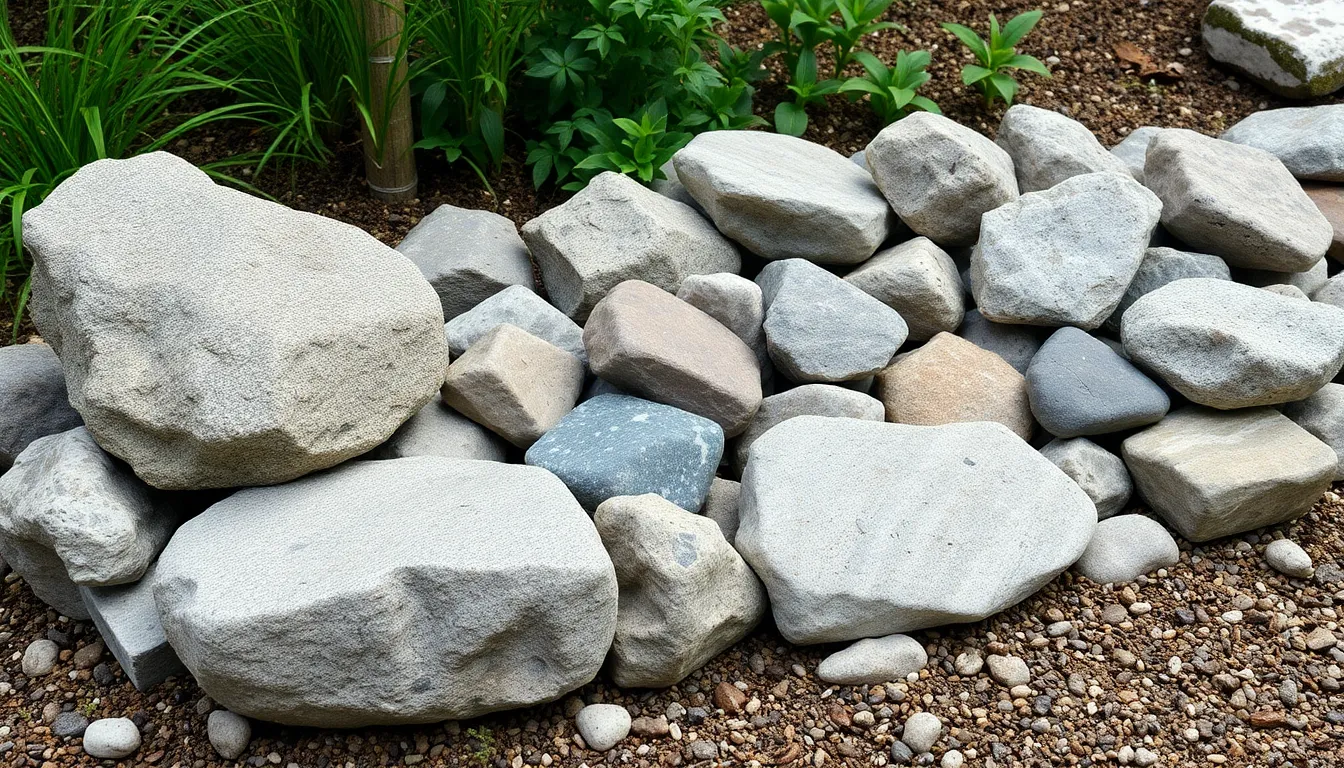
Choosing the perfect rocks and stones forms the foundation of your small rock garden’s visual appeal. We’ll explore three essential strategies that’ll help you create a cohesive and stunning design.
Use Local Stone Materials
Local stone materials offer the most authentic foundation for your rock garden design. We recommend sourcing rocks native to your region because they naturally complement the surrounding industry and create a seamless transition between your garden and the local environment.
Native stones provide several practical advantages beyond aesthetics. They support local ecosystems by maintaining the natural mineral composition that regional plants and wildlife recognize. Also, local materials typically cost less than imported alternatives since transportation expenses remain minimal.
Regional stone varieties also weather more predictably in your climate. They’ve already adapted to local temperature fluctuations, moisture levels, and seasonal changes, ensuring your rock garden maintains its appearance year after year.
Mix Different Sizes and Textures
Different sizes and textures create the visual depth that transforms a simple rock collection into a captivating industry feature. We suggest combining small pebbles with medium sized stones and larger boulders to establish natural looking proportions.
Texture variation adds another layer of visual interest to your design. Smooth river rocks contrast beautifully with rough granite surfaces, while weathered limestone provides a middle ground between these extremes. This combination mimics the diverse textures found in natural stone formations.
Scale relationships matter significantly in small spaces. We recommend using the largest stones as anchor points, medium stones as supporting elements, and small pebbles as filler material between major features. This hierarchy creates balance without overwhelming your limited space.
Create Natural-Looking Arrangements
Natural looking arrangements follow patterns observed in wild stone formations rather than formal geometric designs. We encourage you to study how rocks naturally settle in dried riverbeds, rocky outcroppings, or mountain slopes for inspiration.
Asymmetrical groupings appear more organic than perfectly balanced arrangements. Position your largest stones first, then add medium stones at varying angles and distances. This approach creates the irregular spacing that characterizes natural stone formations.
Partially burying stones enhances the illusion that they’ve been in place for years. We recommend embedding at least one third of each rock below ground level, which also provides stability and prevents shifting over time.
Design Stunning Alpine Plant Combinations
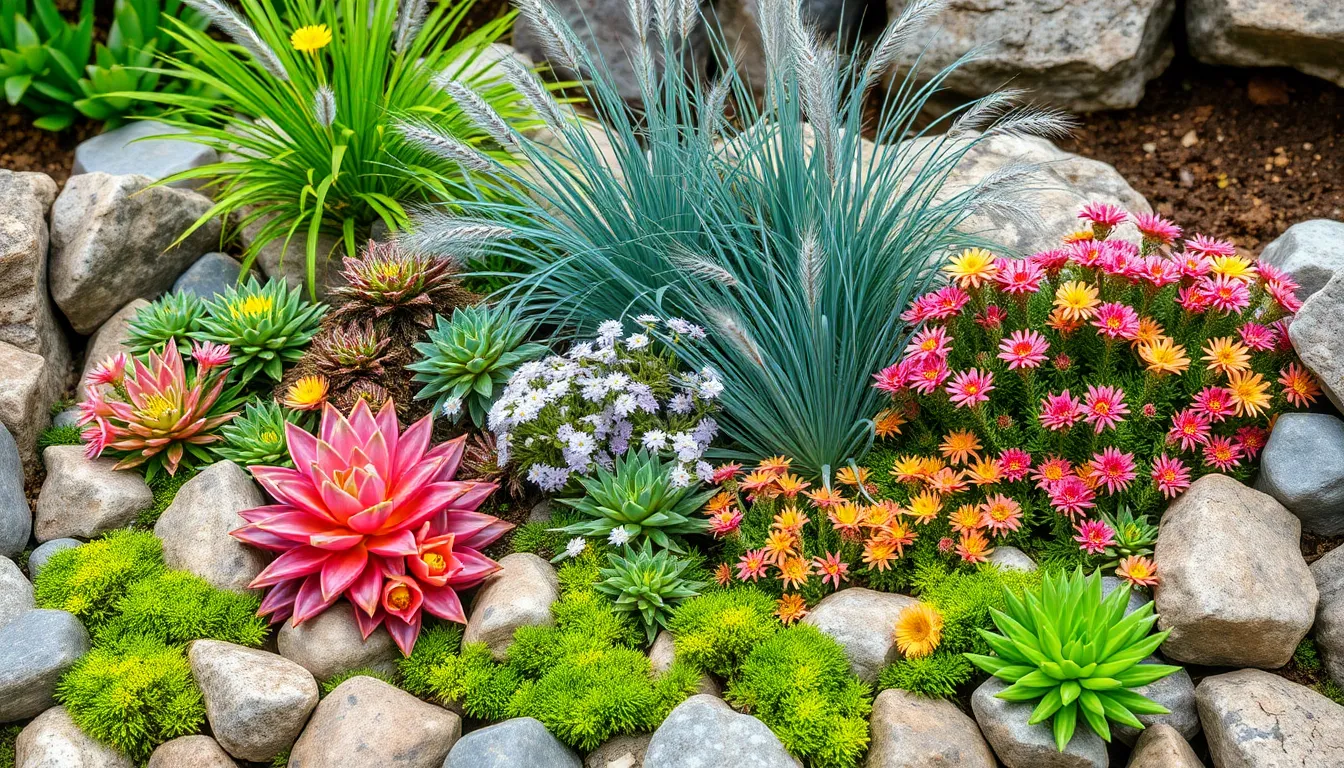
We’ve discovered that the most captivating rock gardens feature carefully curated plant combinations that create visual harmony while thriving in challenging conditions. Alpine plants naturally complement the rugged beauty of stone arrangements and provide year-round interest.
Pick Drought-Tolerant Perennials
Yarrow (Achillea millefolium) stands out as our top choice for dry rock garden conditions, producing feathery foliage and colorful flower clusters that attract beneficial insects. This hardy perennial requires minimal water once established and blooms from spring through fall.
Scotch Moss (Sagina subulata Aurea) offers brilliant yellow-green carpeting that flows beautifully between rocks and stones. We love how this low-growing plant creates soft transitions while requiring almost no maintenance.
Wood Spurge (Euphorbia amygdaloides Purpurea) delivers stunning contrast with its yellow blooms and distinctive red stems. This perennial thrives in poor soil conditions and adds architectural interest to rock garden designs.
Snow-in-summer (Cerastium tomentosum) provides silvery foliage topped with masses of white flowers that brighten shaded rock crevices. We recommend this spreading perennial for areas where you want consistent ground coverage.
Candytuft (Iberis sempervirens Purity) produces cascading white flowers that spill gracefully over rock edges. This evergreen perennial blooms early in spring and maintains attractive foliage throughout winter months.
Include Colorful Succulents
Echeveria varieties bring vibrant, rounded rosettes in shades of blue, purple, pink, and green that create stunning focal points among neutral stones. We position these dramatic succulents where they’ll receive morning sun and afternoon shade.
Crassula species offer diverse textures with small, compact leaves arranged in geometric patterns. These hardy succulents develop beautiful red edges when stressed by sun exposure and drought conditions.
Sedum adolphi contributes warm yellow-tinted foliage that intensifies during cooler months. We use this spreading succulent to fill gaps between larger rocks where its trailing habit creates natural-looking connections.
Hens and Chicks (Sempervivum tectorum) provide reliable red coloration and multiply readily to form attractive colonies. These cold-hardy succulents withstand harsh winter conditions while maintaining their sculptural appearance.
Add Ornamental Grasses for Movement
Blue Oat Grass (Helictotrichon sempervirens) creates gentle movement with its steel-blue foliage that sways in the slightest breeze. We plant this clumping grass near pathways where its graceful motion can be appreciated up close.
Fountain Grass (Pennisetum setaceum) delivers dramatic texture with arching leaves and fluffy plumes that catch light beautifully. This ornamental grass adds vertical interest while softening hard rock edges with its flowing form.
Lamb’s Ear Plant (Stachys byzantina) contributes silver foliage that complements both warm and cool-toned stones. We value this perennial for its soft texture that invites touch and creates stunning contrasts with spiky succulents and grasses.
Create Multi-Level Terraced Rock Gardens
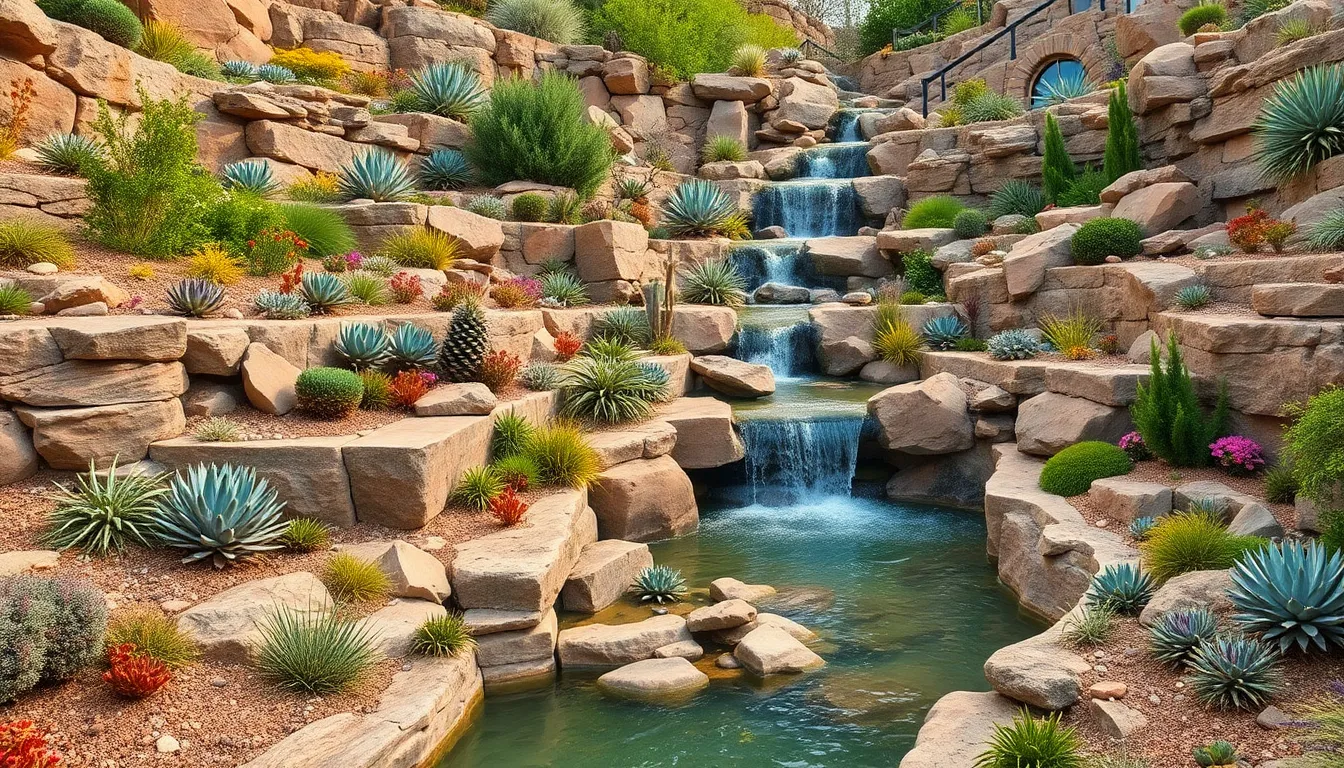
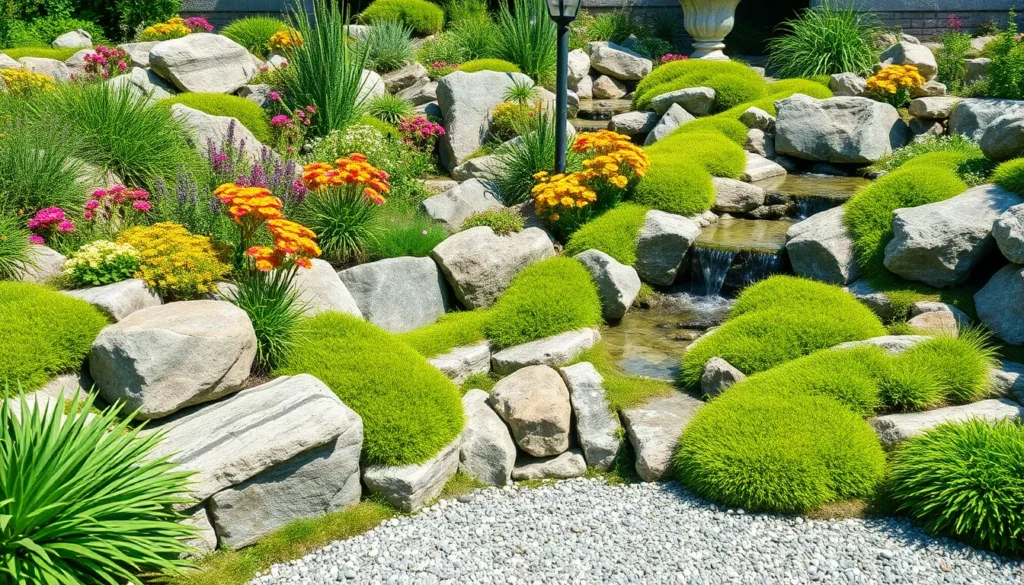
Terracing transforms steep slopes into stunning tiered landscapes that maximize growing space while preventing soil erosion. We’ll explore how strategic elevation changes can turn challenging terrain into your garden’s most captivating feature.
Build Retaining Wall Features
Retaining walls form the backbone of successful terraced rock gardens by creating distinct planting zones at different elevations. We recommend using natural stone materials that match your selected rocks to maintain visual consistency throughout the design. Stack stones in a slightly backward angle to ensure structural stability while allowing proper drainage behind each tier.
These walls serve multiple purposes beyond simple soil retention. We can incorporate built-in seating areas by creating wider wall caps that invite visitors to pause and enjoy the garden views. The walls also provide excellent opportunities for trailing plants like Snow-in-summer to cascade over edges, softening hard stone lines with flowing foliage.
Install Stepped Planting Areas
Stepped terraces create natural pathways that guide visitors through your rock garden while showcasing different plant communities at each level. We design each terrace with exact microclimates in mind, placing drought-tolerant perennials like Yarrow on upper, sun-exposed levels and moisture-loving alpine plants in lower, more protected areas.
Each planting step should measure 18-24 inches deep to provide adequate root space for established plant growth. We fill gaps between larger boulders with smaller stones and sand to create perfect drainage conditions. This stepped approach allows us to feature colorful succulents like Echeveria at eye level while using ornamental grasses such as Blue Oat Grass to add movement and texture throughout the design.
Design Cascading Water Elements
Water features add movement and sound while creating natural focal points that enhance the terraced rock garden experience. We integrate small waterfalls that flow from upper terraces to lower collecting pools, using the existing stone structure to guide water naturally downward. These cascading elements attract beneficial wildlife while providing soothing background sounds.
Position water sources at the highest terrace point to maximize the cascading effect through multiple levels. We recommend installing small recirculating pumps hidden within rock crevices to maintain continuous water flow without visible mechanical components. The moving water creates perfect growing conditions for moisture-loving plants like Scotch moss while adding humidity that benefits nearby alpine plantings.
Build a Japanese-Inspired Zen Rock Garden
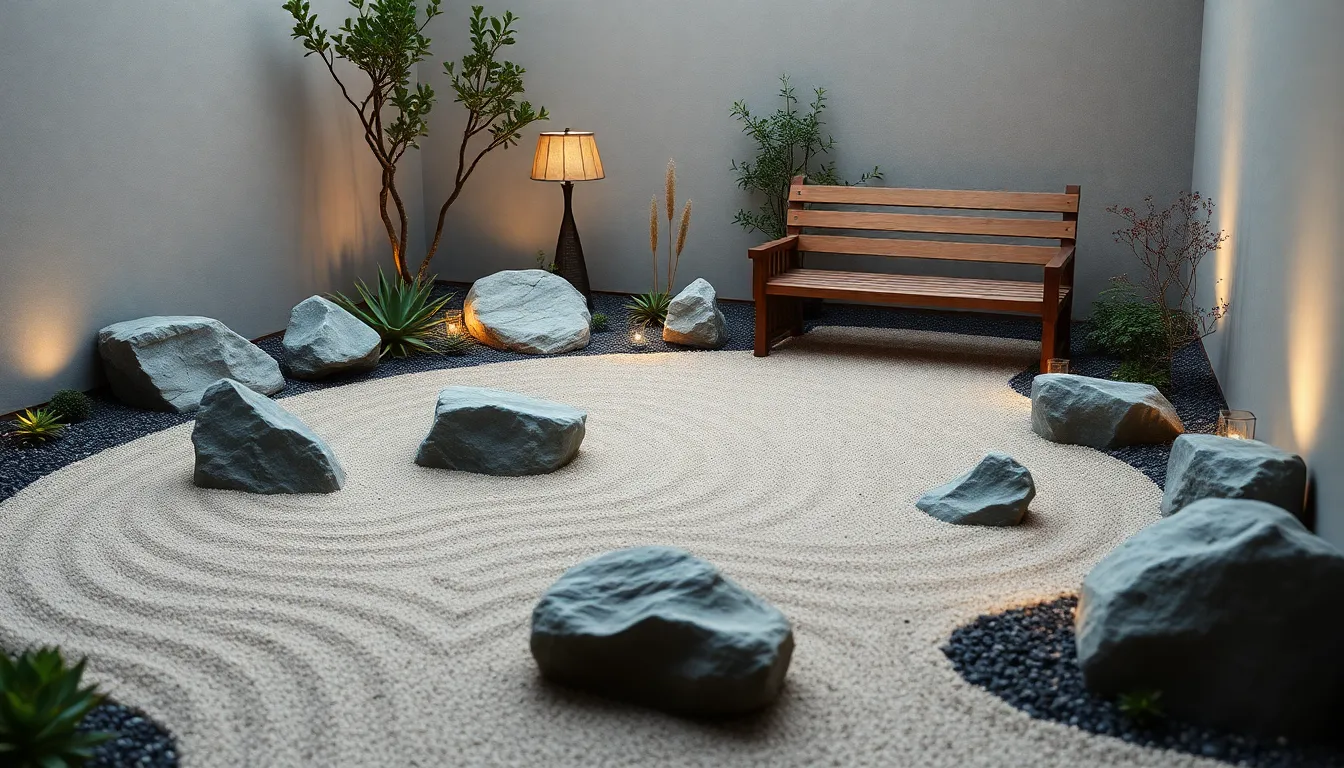
Creating a tranquil Zen rock garden brings serenity to your small outdoor space through thoughtful design elements. We’ll transform your compact area into a peaceful retreat that emphasizes natural beauty and mindful simplicity.
Incorporate Minimalist Design Principles
Monochromatic color schemes form the foundation of effective Zen garden design. We recommend focusing on neutral tones like grays, whites, and subtle earth colors to maintain visual harmony throughout your space. These unified colors create the calming atmosphere essential for meditation and reflection.
Strategic plant selection keeps maintenance minimal while preserving the garden’s clean aesthetic. We suggest incorporating low-maintenance succulents or moss varieties that thrive without constant attention. These plants provide subtle texture without overwhelming the peaceful environment you’re creating.
Solar-powered lighting enhances key features during evening hours without disrupting the minimalist approach. We place these lights strategically to highlight focal stones or pathways while maintaining the garden’s uncluttered appearance. This approach creates gentle illumination that supports the contemplative mood after sunset.
Use Sand and Gravel Patterns
Wave-like patterns in raked sand create visual movement that mimics natural water flow. We use fine-grained sand to achieve smooth, flowing lines that guide the eye through the garden space. Regular raking maintains these patterns while providing a meditative activity for garden maintenance.
Different gravel textures establish clear borders around plants and key features. We recommend combining coarse river rock with finer pea gravel to create distinct zones within your garden. These varied textures add depth while maintaining the organized structure essential to Zen design principles.
Geometric patterns using contrasting materials create focal points without adding cluttered elements. We arrange darker stones against lighter sand backgrounds to emphasize exact areas where meditation or contemplation occurs. This contrast draws attention to important features while preserving overall simplicity.
Add Meditation Focal Points
Large boulders serve as central anchoring elements that ground the entire garden design. We position substantial stones as natural seats or visual centerpieces that invite quiet reflection. These permanent features provide stability and presence that enhances the meditative quality of your space.
Small water features introduce soothing sounds that mask urban noise and promote relaxation. We recommend simple fountains or shallow basins that create gentle trickling sounds without requiring complex installation. Even modest water elements significantly enhance the peaceful atmosphere of your Zen garden.
Minimalist seating areas provide dedicated spaces for contemplation and mindfulness practice. We suggest incorporating stone benches or simple wooden seats positioned to face the garden’s most beautiful views. These purposeful seating options encourage regular use while maintaining the garden’s clean, uncluttered aesthetic.
Construct a Container Rock Garden
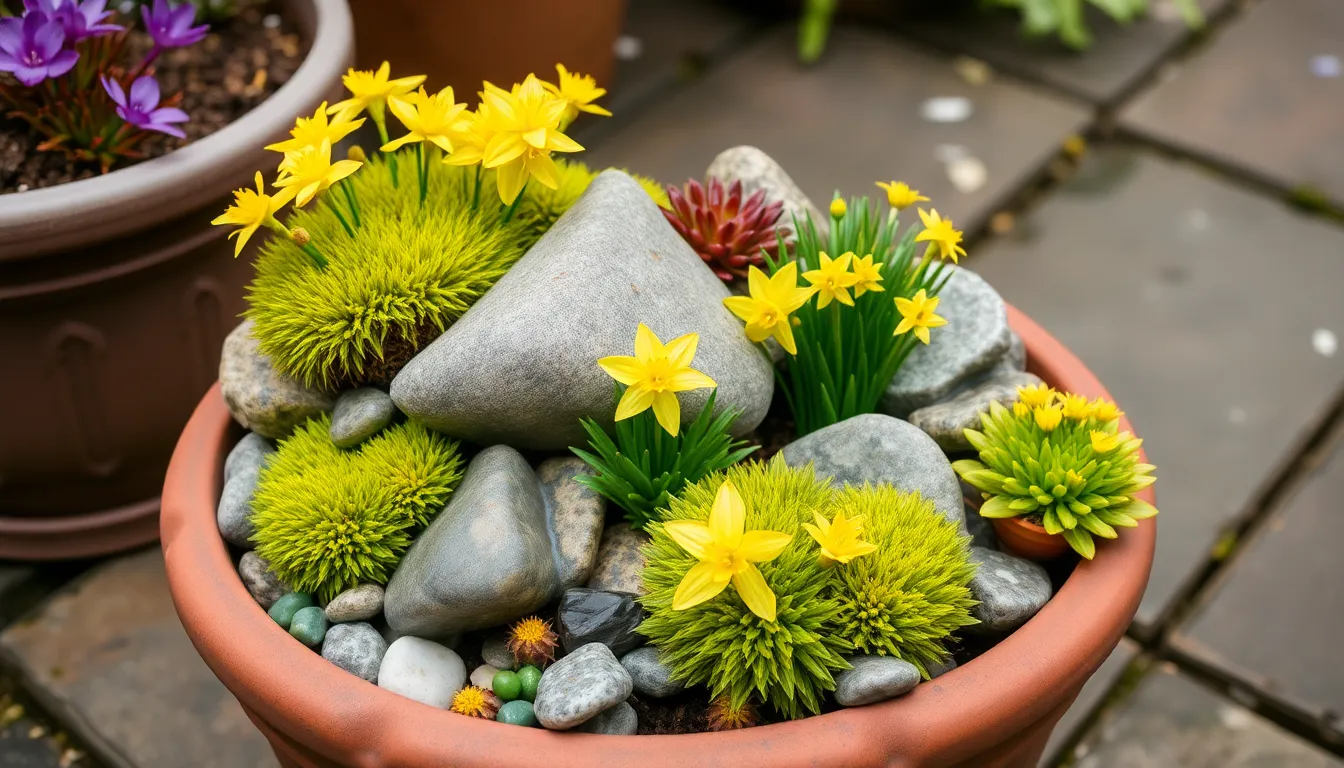
Container rock gardens offer us the perfect solution for enjoying alpine beauty in limited spaces. We can create these portable masterpieces on patios, balconies, or any small outdoor area.
Choose Appropriate Vessel Sizes
Selecting containers with adequate depth ensures our plants have room to establish strong root systems. We need vessels that hold at least a few inches of soil while accommodating multiple plant varieties for visual interest. Drainage holes become essential features in our container selection since they prevent waterlogging that can kill alpine plants. Large planters, decorative pots, and repurposed containers all work well when they meet these size requirements.
Layer Drainage Materials Properly
Starting with small rocks or gravel creates the foundation layer that improves water movement through our container. We add this base layer first to prevent soil from becoming waterlogged during heavy rains or overwatering. Sand comes next as our second layer, which stabilizes the growing medium and assists in proper water absorption throughout the container. This two layer system mimics natural alpine conditions where plants thrive in well draining environments.
Select Compact Plant Varieties
Scotch Moss (Sagina subulata Aurea) provides bright yellow coloring that illuminates our container garden throughout the growing season. Miniature Daffodils (Narcissus) add cheerful yellow blooms in early spring before other plants begin their active growth. Hens and Chicks (Sempervivum tectorum) offer striking red coloration and low growing rosette foliage that spreads naturally over time. Snow in Summer (Cerastium tomentosum) contributes silver foliage and delicate white blooms that create beautiful contrast against darker stones.
Design Pathway Integration Ideas
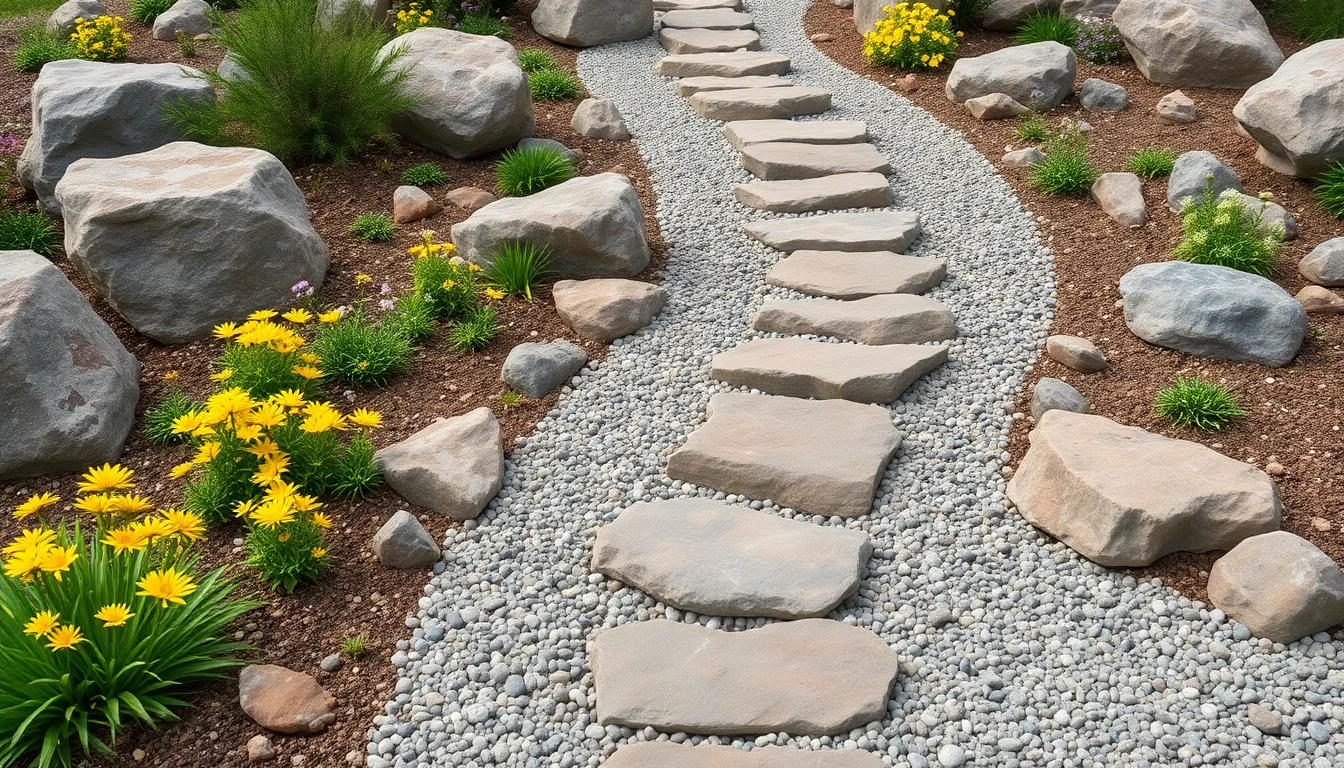
Pathways serve as the connecting threads that weave our rock gardens into the broader industry design. We can transform functional walkways into stunning design elements that complement our alpine plantings.
Create Stepping Stone Walkways
Stone placement becomes an art form when we design pathways through our rock gardens. Flat stones work perfectly as natural stepping stones that guide visitors along a predetermined route while protecting delicate plantings from foot traffic. We position these stones at comfortable walking distances, typically 18-24 inches apart, ensuring they’re large enough to provide stable footing.
Natural flagstone offers the most authentic appearance for alpine settings. These irregular shapes create organic pathways that feel like they’ve existed for centuries. We partially bury each stone to achieve stability and prevent rocking, which also helps them blend seamlessly with the surrounding industry.
Strategic spacing allows us to incorporate ground-hugging plants between stones. Low-growing varieties like Sagina subulata thrive in the gaps, creating a living carpet that softens the hardscape elements. This technique transforms ordinary walkways into ever-changing garden features that change with the seasons.
Build Gravel Path Borders
Gravel borders define pathway edges while solving drainage challenges simultaneously. We create clean lines by installing a slightly raised border of small rocks that contains the gravel and prevents it from spreading into planting areas. This technique works particularly well with decomposed granite or pea gravel materials.
Layered construction ensures long-lasting pathway stability. We begin with a foundation of larger stones, then add a layer of medium-sized gravel, finishing with fine material on top. This approach mimics natural geological processes and provides excellent drainage that benefits nearby plants.
Color coordination ties gravel paths into the overall garden design. We select gravel tones that complement our chosen stone materials, creating visual harmony throughout the space. Warm-toned gravels pair beautifully with sandstone elements, while cool gray options enhance limestone or granite features.
Install Natural Rock Edging
Boulder placement creates dramatic focal points that anchor pathway designs. We position larger rocks strategically along path edges to establish natural gathering spots and viewing areas. These substantial elements provide visual weight that balances delicate alpine plantings and smaller decorative stones.
Irregular rock arrangements mimic natural outcropping formations. Rather than creating uniform borders, we vary the size and spacing of edging stones to achieve an organic appearance. This technique helps our pathways feel like they follow natural terrain contours rather than imposed geometric patterns.
Partially buried installation ensures stability and authentic appearance. We bury approximately one-third of each edging stone to create the illusion that these rocks have settled naturally over time. This method also provides the structural stability needed to contain soil and mulch materials within planting areas.
Add Seasonal Interest Elements
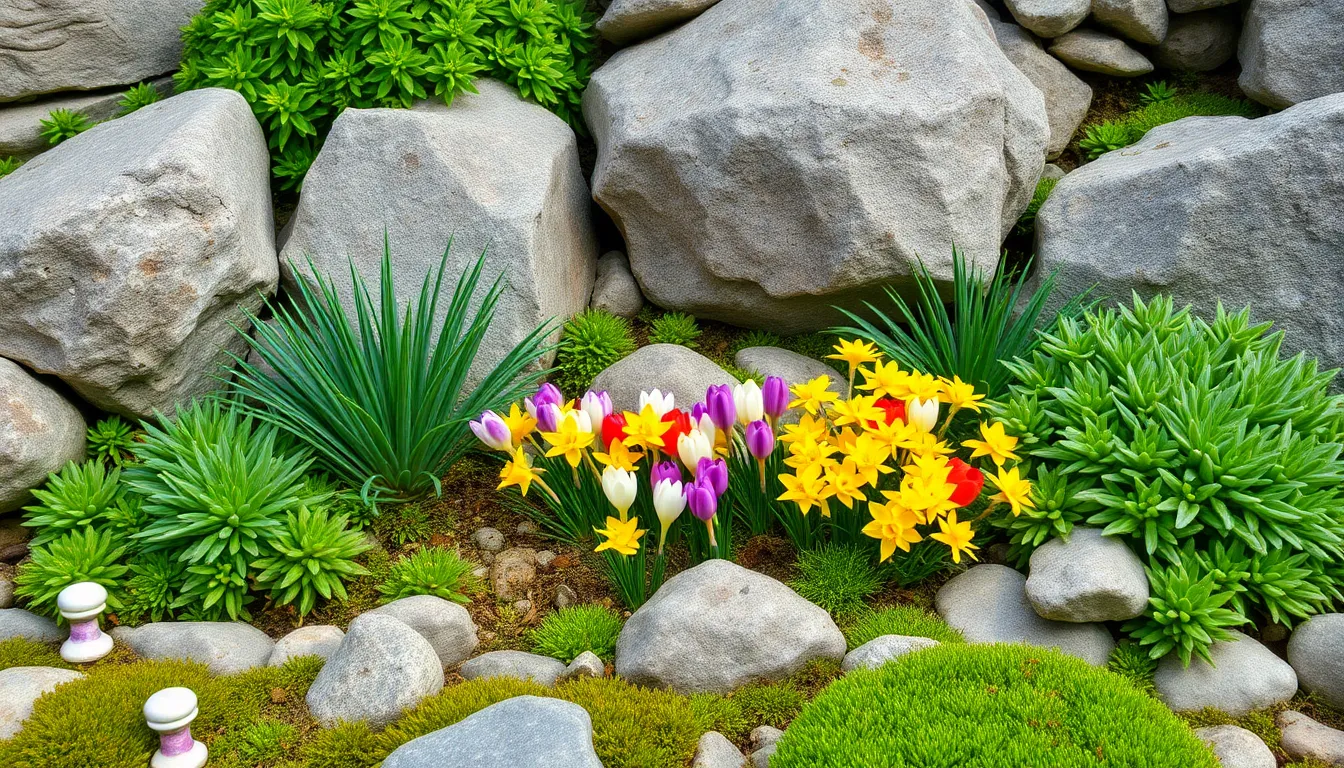
We can transform our small rock garden into a year-round spectacle by incorporating elements that provide visual appeal throughout all seasons.
Plant Spring Flowering Bulbs
Spring flowering bulbs bring early season color when most perennials remain dormant. Miniature daffodils create cheerful yellow clusters that naturalize beautifully among rocks and require minimal care after establishment. Crocuses push through late winter snow to deliver purple, white, and yellow blooms that signal spring’s arrival.
We should plant these bulbs in fall for spring emergence, spacing them naturally between rocks rather than in rigid rows. Small bulbs like grape hyacinths and snowdrops work exceptionally well in tight spaces between stones. These early bloomers provide essential nectar for pollinators when few other food sources exist.
Include Evergreen Structure Plants
Evergreen plants maintain visual interest when deciduous varieties lose their leaves. Sedum varieties offer succulent foliage that changes color with seasons while providing structural bones throughout winter months. Hens and chicks (Sempervivum tectorum) create rosette patterns that multiply naturally and tolerate extreme weather conditions.
Dwarf conifers add vertical elements and year-round green color to balance the horizontal rock formations. We can select slow-growing varieties like dwarf Alberta spruce or mugo pine that won’t outgrow their allocated space. These evergreen anchors prevent our rock garden from looking bare during dormant seasons.
Design for Year-Round Appeal
Year-round appeal requires plants with varied bloom times, foliage colors, and textures working together harmoniously. Silver foliage plants like lamb’s ear (Stachys byzantina) provide consistent color contrast alongside seasonal bloomers throughout the growing season. Candytuft (Iberis sempervirens) delivers white spring flowers followed by evergreen foliage that maintains structure.
We should incorporate late-blooming perennials and hardy ferns to extend interest into fall months when spring bulbs have finished their display. Groundcover plants such as Scotch moss (Sagina subulata) and snow-in-summer (Cerastium tomentosum) tie different seasonal elements together with consistent texture. This layered approach ensures our small rock garden offers beauty and visual impact regardless of the season while requiring minimal maintenance effort.
Incorporate Water Features Successfully
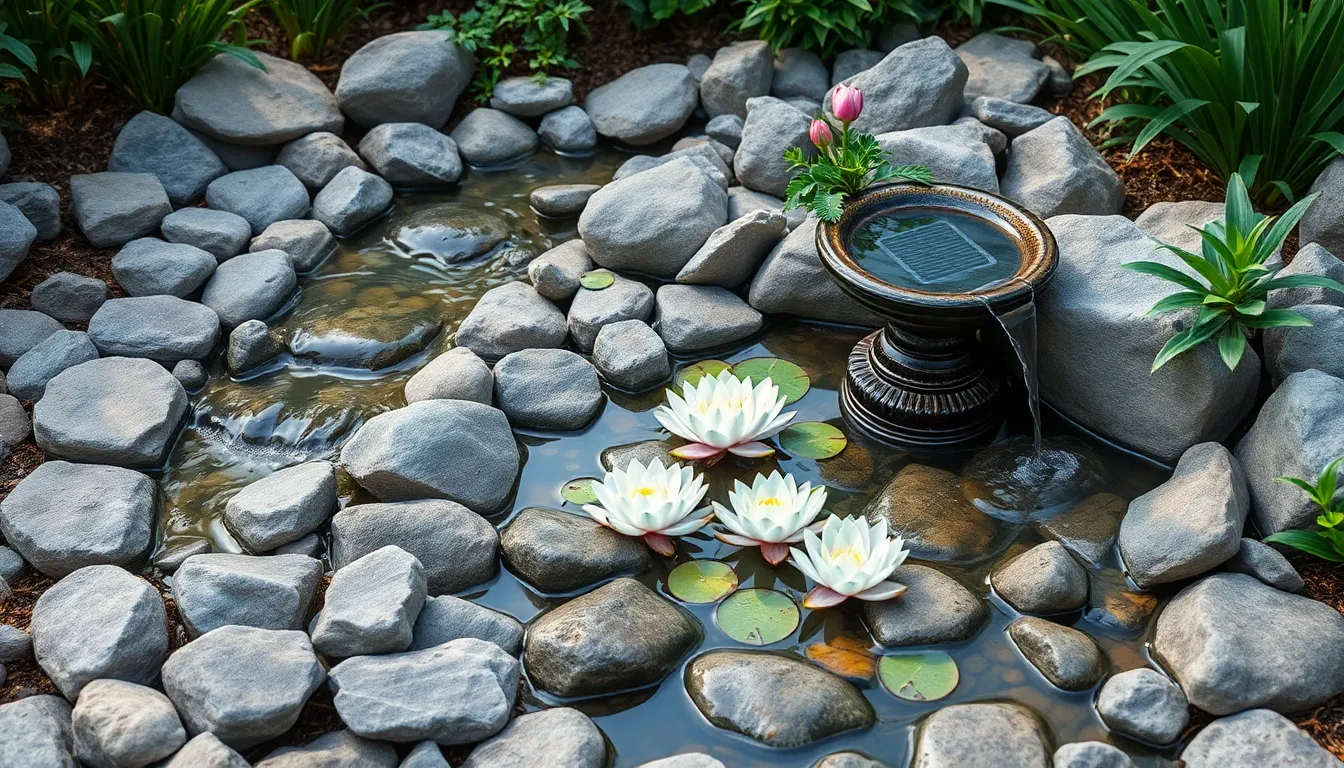
Water elements transform ordinary rock gardens into ever-changing landscapes that engage multiple senses. These features create focal points while providing the soothing sounds and movement that make small spaces feel more expansive.
Install Small Fountain Systems
Small fountain systems offer the perfect solution for adding water movement without overwhelming compact rock gardens. These compact installations fit seamlessly between rocks and require minimal space while delivering maximum visual impact.
We recommend selecting fountains with recirculating pumps that keep water costs low and maintenance simple. Solar powered options eliminate the need for electrical connections and provide eco friendly operation throughout daylight hours.
Position your fountain where it becomes a natural focal point among larger boulders or at the intersection of pathways. The gentle sound masks urban noise while creating a peaceful atmosphere that enhances the garden’s zen like qualities.
Installation typically requires only basic tools and can be completed in a single afternoon. Most small fountain systems include everything needed for setup, from pumps to decorative elements that blend with natural stone arrangements.
Create Natural Stream Effects
Natural stream effects bring the movement and sound of flowing water using simple channels and strategic rock placement. We achieve this look by creating shallow troughs lined with smooth river rocks that guide water flow naturally.
Start by digging a gentle channel that follows the natural contours of your rock garden space. Line this channel with industry fabric before adding a layer of gravel for proper drainage and water movement.
Position larger stones along the edges to create realistic stream banks while smaller pebbles fill the channel bottom. This arrangement mimics wild mountain streams where water naturally carves paths through rocky terrain.
A small submersible pump circulates water from a hidden reservoir back to the stream’s starting point. Conceal the reservoir beneath rocks or plant coverage to maintain the illusion of a natural water source.
Adjust water flow rates to create different effects, from gentle trickling sounds to more pronounced bubbling as water moves over varied stone sizes. This flexibility lets you customize the auditory experience to match your garden’s overall ambiance.
Add Pond Integration Options
Pond integration options range from simple shallow pools to more elaborate water features that support aquatic plants and wildlife. Even small ponds measuring just two to three feet across can dramatically enhance rock garden appeal.
We suggest starting with preformed pond liners that simplify installation and ensure proper water retention. These liners come in natural shapes that blend seamlessly with organic rock arrangements.
Surround your pond with varying sizes of stones to create realistic shoreline effects that mirror natural alpine lakes. Partially bury larger boulders to establish stability while smaller rocks fill gaps and create visual transitions.
Consider adding aquatic plants like water lilies or floating varieties that thrive in shallow conditions. These plants provide natural filtration while attracting beneficial insects and creating habitat for local wildlife.
Depth variations within your pond create different microclimates for plant growth and add visual interest when viewed from different angles. Shallow areas warm quickly in spring while deeper sections provide temperature stability throughout the growing season.
Maintain Your Small Rock Garden Effectively
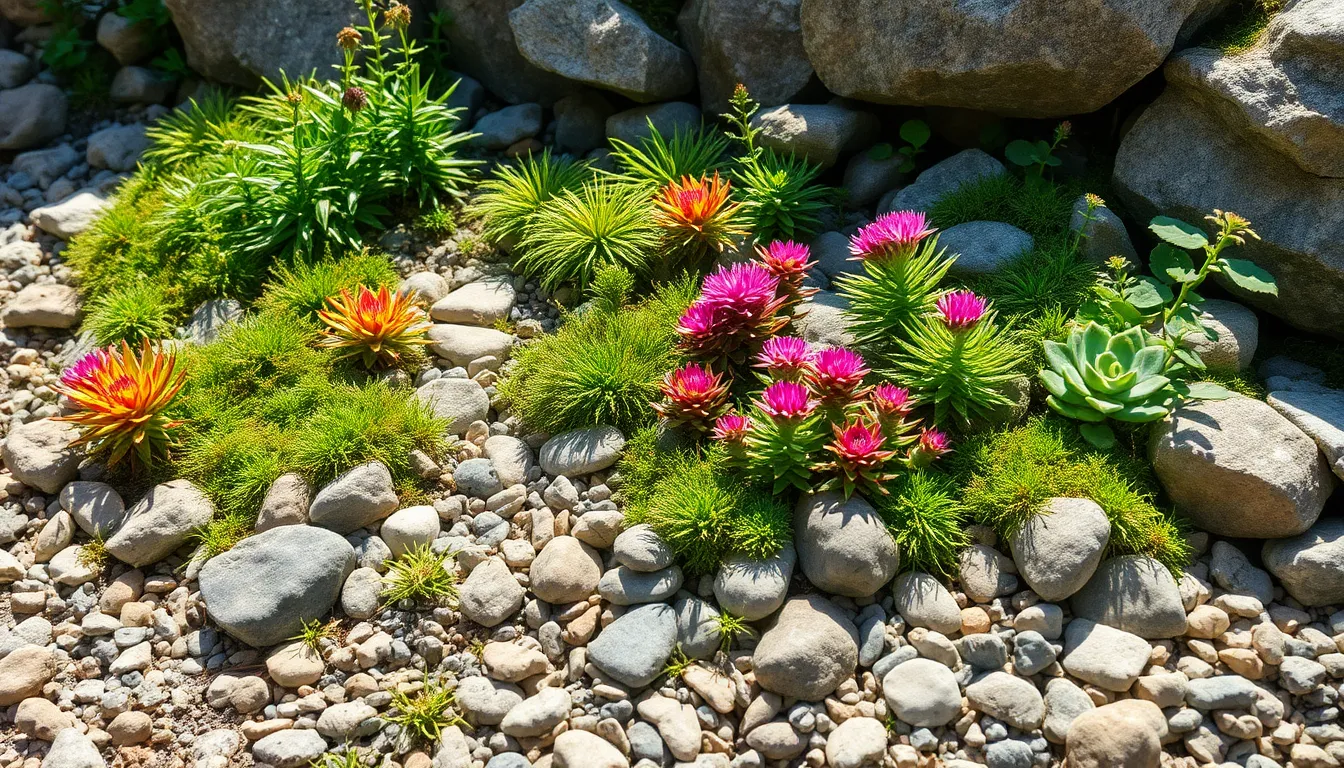
Keeping your small rock garden thriving requires understanding the exact needs of alpine plants and stone structures. We’ll guide you through essential maintenance practices that preserve your garden’s beauty while minimizing effort.
Establish Proper Watering Schedules
Watering sparingly becomes crucial since most rock garden plants are drought-tolerant by nature. Alpine species like Scotch moss and Sempervivum tectorum require minimal moisture to maintain their vibrant appearance.
We recommend checking soil moisture levels weekly during growing season rather than following a fixed schedule. Rocky soil drains quickly, so deep watering sessions work better than frequent light applications.
Summer months demand more attention as temperatures rise and rainfall decreases. Morning watering sessions allow plants to absorb moisture before afternoon heat stress occurs.
Winter watering should be reduced significantly since dormant plants use less water. Overwatering during cold months can lead to root rot in species like Narcissus and Euphorbia amygdaloides.
| Season | Watering Frequency | Best Time |
|---|---|---|
| Spring | 2-3 times per week | Early morning |
| Summer | Daily monitoring | 6-8 AM |
| Fall | Weekly | Mid-morning |
| Winter | Monthly | Warm afternoons |
Control Weed Growth Naturally
Natural weed control methods protect your carefully chosen plants without harsh chemicals. Hand-pulling weeds remains the most effective approach for maintaining plant health between established rocks.
Mulching around plants using small stone chips creates a barrier that prevents weed seed germination. This method also helps retain soil moisture while maintaining the garden’s aesthetic appeal.
We suggest installing industry fabric during initial garden preparation to reduce future weed pressure. Proper ground clearing and soil amendment with sand creates conditions that favor desired plants over invasive weeds.
Timing weed removal efforts after rainfall makes extraction easier and less disruptive to surrounding root systems. Regular weekly inspections during growing season prevent small problems from becoming major maintenance challenges.
Dense plant coverage using groundcover species like Cerastium tomentosum naturally suppresses weed growth. These living mulches compete effectively for space while adding visual interest to rock arrangements.
Plan Seasonal Maintenance Tasks
Spring maintenance focuses on pruning dead material and refreshing soil amendments around established plantings. We remove winter debris and check for any rock displacement caused by freeze-thaw cycles.
Fertilizing tasks should be minimal since alpine plants thrive in nutrient-poor conditions. Light applications of balanced fertilizer in early spring support healthy growth without encouraging excessive foliage.
Summer tasks include deadheading spent blooms on plants like Wood spurge to encourage continued flowering. We also monitor for pest issues and adjust watering schedules based on weather patterns.
Fall preparation involves cutting back perennial growth and protecting tender plants with additional mulch. This season also provides optimal timing for dividing overcrowded clumps of Hens and chicks.
Winter maintenance requires minimal intervention beyond occasional snow removal from delicate plant crowns. We avoid walking on frozen soil to prevent compaction that affects spring drainage patterns.
| Season | Primary Tasks | Frequency |
|---|---|---|
| Spring | Pruning, soil refresh | Monthly |
| Summer | Deadheading, pest monitoring | Bi-weekly |
| Fall | Plant division, mulching | Monthly |
| Winter | Snow removal, protection | As needed |
Conclusion
We’ve shown you how small rock gardens can transform any compact space into a stunning industry feature. From container gardens perfect for patios to multi-level terraced designs that maximize vertical space these versatile answers work for every homeowner.
The key lies in thoughtful planning – choosing the right location with proper drainage selecting local stones that complement your environment and picking plants that thrive together. Whether you’re adding cascading water features or creating seasonal interest with evergreen plants the possibilities are endless.
Remember that successful rock gardens require minimal maintenance once established. With proper watering schedules natural weed control methods and seasonal care your small rock garden will provide year-round beauty while supporting local wildlife and creating a peaceful retreat right in your backyard.
Frequently Asked Questions
What is the minimum space needed to create a rock garden?
Rock gardens can be created in surprisingly small spaces, including patios, balconies, and compact yards. Even a few square feet is sufficient when using container rock gardens or vertical terraced designs. The key is maximizing your available space through creative layering and strategic plant placement rather than requiring extensive ground area.
How much sunlight do rock garden plants require?
Most alpine and rock garden plants thrive with 6-8 hours of direct sunlight daily. This amount of sun exposure ensures healthy plant growth and vibrant blooms. However, some varieties can tolerate partial shade, making it possible to create rock gardens in areas with slightly less sun exposure.
What type of drainage is essential for rock gardens?
Excellent drainage is critical for rock garden success. Water should never pool or accumulate around plants, as this can cause root rot. Test your drainage by digging a hole and filling it with water – it should drain within a few hours. Poor drainage areas need amendment with gravel or sand.
Which rocks work best for small rock gardens?
Local stone materials are ideal as they blend naturally with your surroundings and support local ecosystems. Mix different sizes and textures – use larger stones as anchor points and smaller pebbles to fill gaps. Limestone, sandstone, and granite are popular choices that weather beautifully and provide good plant growing conditions.
What are the best low-maintenance plants for rock gardens?
Drought-tolerant perennials like Yarrow, Snow-in-summer, and Candytuft require minimal care while providing color. Succulents such as Hens and Chicks, Sedum varieties, and Echeveria add vibrant focal points. Ornamental grasses like Blue Oat Grass introduce movement and soft textures while being extremely low-maintenance.
How do I create proper drainage in container rock gardens?
Use a two-layer drainage system with small rocks at the bottom and coarse sand above. Ensure containers have adequate drainage holes and are deep enough for root development. This setup mimics natural alpine conditions and prevents water logging while maintaining proper soil moisture levels.
Can rock gardens provide year-round interest?
Yes, by incorporating spring flowering bulbs like miniature daffodils, evergreen plants such as dwarf conifers, and plants with varied bloom times. This layered approach ensures continuous visual appeal through seasonal changes while maintaining the garden’s structure during winter months with minimal maintenance requirements.
How often should I water my rock garden?
Water deeply but infrequently rather than frequent light applications. During summer months, most established rock gardens need watering only once or twice weekly. Container gardens may require more frequent watering. Always check soil moisture levels and adjust based on weather conditions and plant needs.
