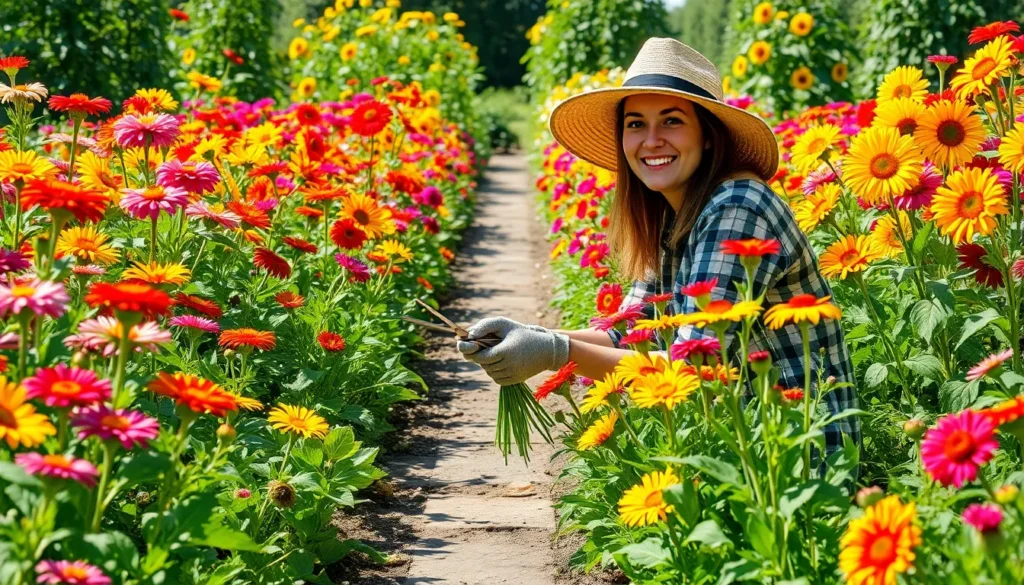
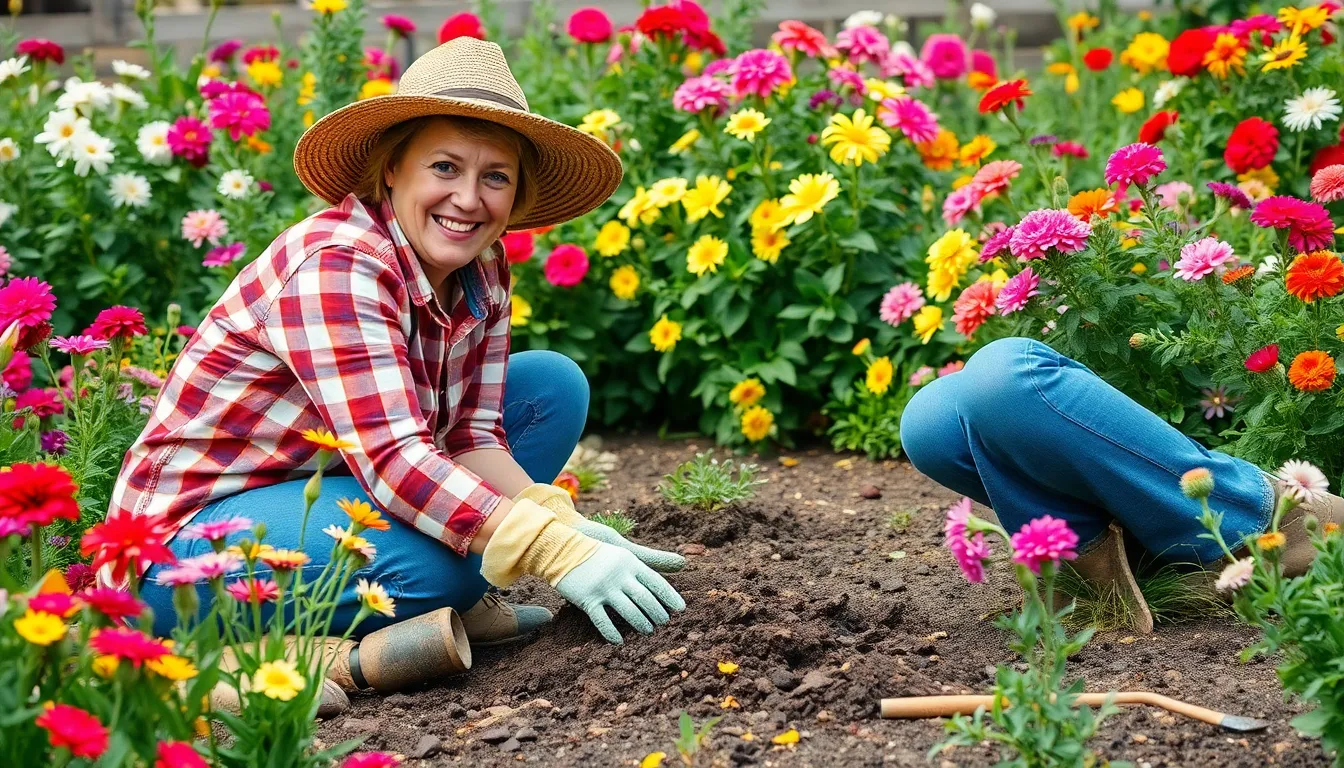
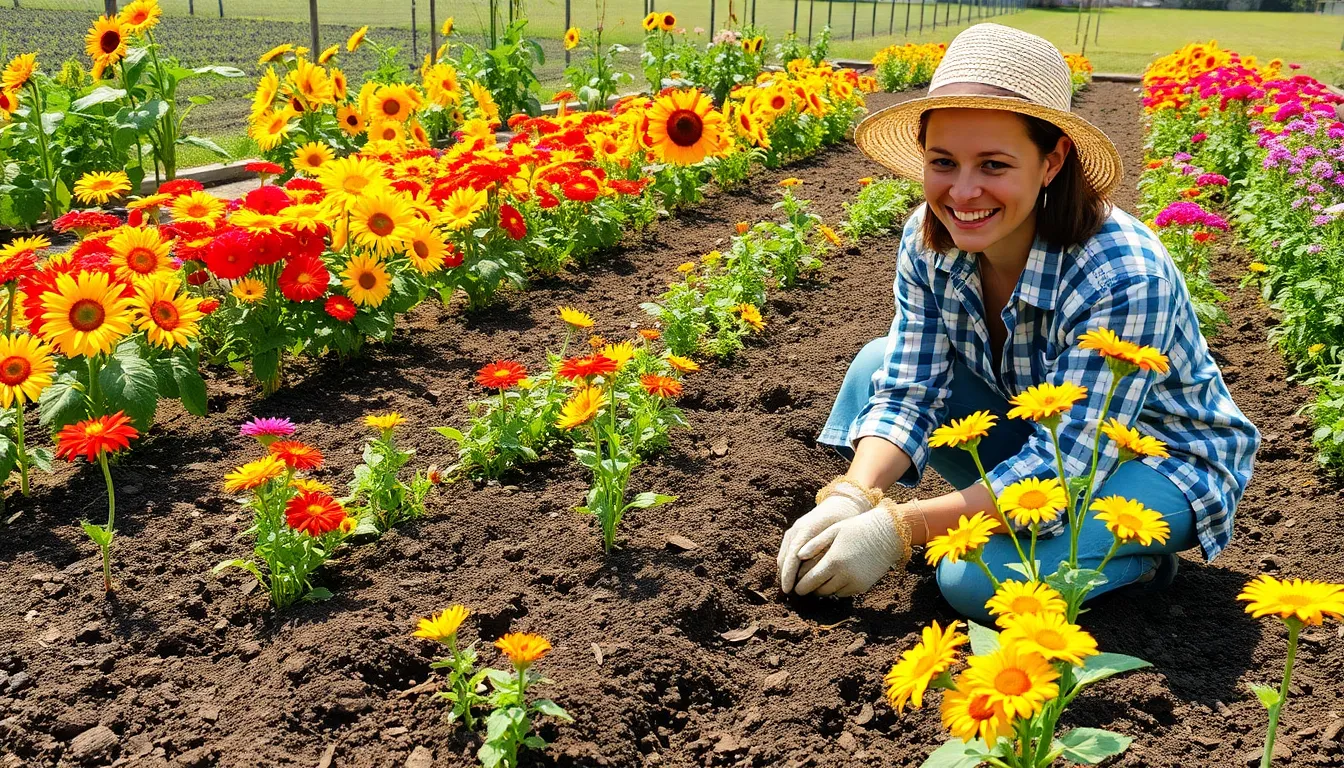
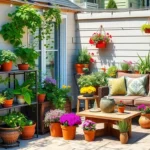
Nothing beats the satisfaction of walking into your home with an armful of fresh flowers you’ve grown yourself. A cut flower garden transforms any outdoor space into your personal florist shop while adding stunning beauty to your industry year-round.
We’ve discovered that growing your own cutting garden isn’t just about saving money on store-bought bouquets. It’s about creating endless possibilities for seasonal arrangements that reflect your style and taste. From vibrant zinnias and cosmos to elegant dahlias and sunflowers you’ll have access to varieties that simply aren’t available at your local flower shop.
The best part? Cut flower gardens are surprisingly easy to establish and maintain. Whether you’re working with a small corner of your yard or dedicating an entire plot we’ll show you how to design plan and grow a thriving garden that keeps your vases filled with gorgeous blooms from spring through fall.
Choose the Perfect Location for Your Cut Flower Garden
Finding the right spot for your cut flower garden sets the foundation for abundant blooms throughout the growing season. We’ll guide you through the essential factors that determine whether your flowers will thrive or struggle.
Assess Sunlight Requirements
Most cut flowers perform best with 6 to 8 hours of direct sunlight daily. We recommend observing your yard throughout different times of day to identify the sunniest locations. Popular cutting flowers like zinnias, cosmos, and sunflowers are sun worshippers that produce more blooms in full sun conditions.
Partial shade areas receiving 4 to 6 hours of sunlight can still support certain varieties. We suggest considering shade tolerant options such as impatiens, begonias, and coleus for these spots. Morning sun with afternoon shade works particularly well in hot climates where intense heat can stress delicate petals.
Track sunlight patterns in your potential garden spaces for at least a week. We find that many gardeners underestimate how much shade trees and structures create throughout the day. Buildings, fences, and mature trees shift shadow patterns as the sun moves across the sky.
Evaluate Soil Drainage
Well draining soil prevents root rot and fungal diseases that can destroy your cut flower garden. We test drainage by digging a hole 12 inches deep and filling it with water. Good drainage allows the water to disappear within 24 hours.
Clay soils hold too much moisture and need amendments to improve drainage. We recommend adding compost, aged manure, or coarse sand to heavy clay areas. These organic materials create air pockets that allow excess water to flow away from plant roots.
Sandy soils drain too quickly and may require different treatment. We suggest incorporating compost or peat moss to help retain adequate moisture for flower growth. Raised beds offer an excellent solution for both drainage problems and poor soil conditions.
Consider Accessibility for Harvesting
Position your cut flower garden within easy reach of your home for convenient daily harvesting. We recommend locating the garden near a water source to simplify irrigation and flower conditioning tasks. A spot visible from your kitchen window allows you to monitor bloom readiness and garden health.
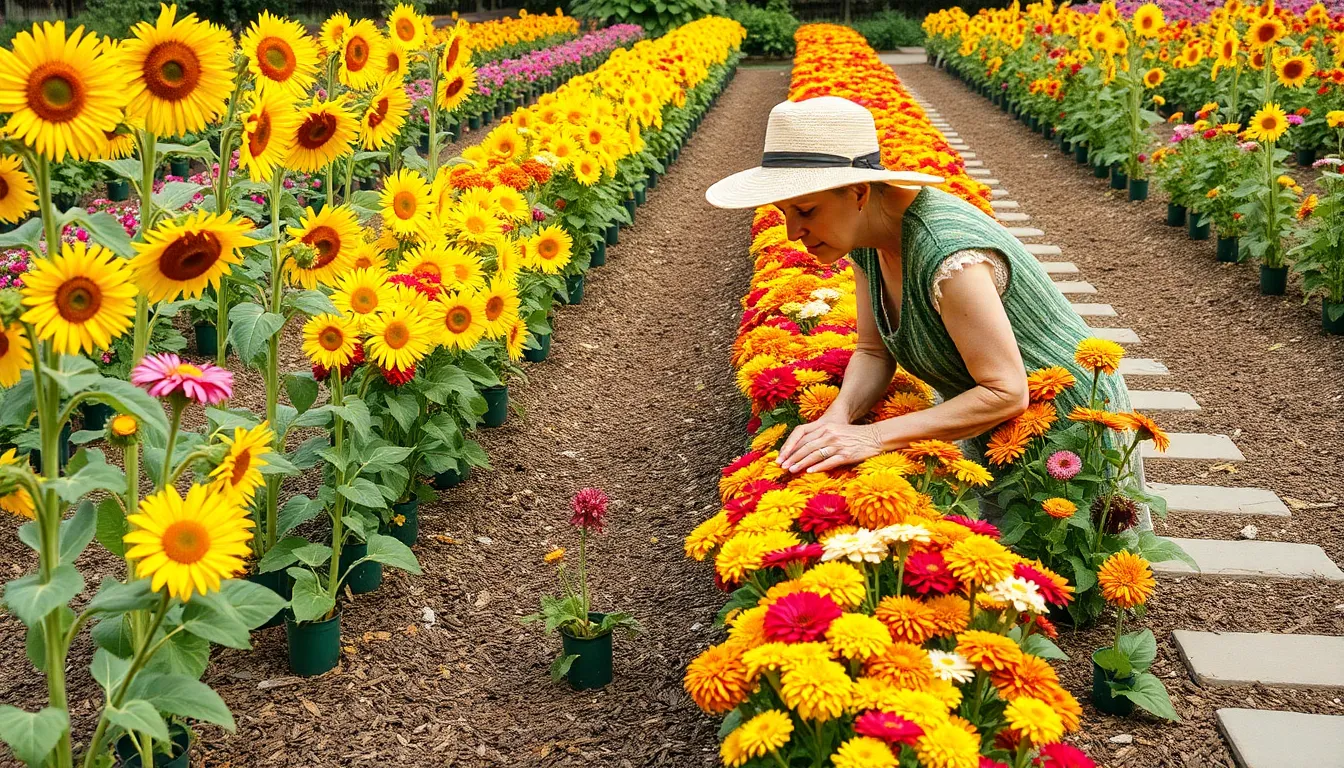
Create pathways between flower rows that accommodate comfortable movement during peak harvest times. We suggest spacing rows 2 to 3 feet apart to allow wheelbarrow access and prevent trampling delicate plants. Mulched pathways reduce mud and make early morning harvesting more pleasant.
Design the layout with the tallest flowers like sunflowers and dahlias in the back rows. We place medium height varieties such as zinnias and marigolds in the middle section. Low growing flowers like sweet alyssum and lobelia work best in front borders where they’re easily accessible for cutting.
Plan Your Cut Flower Garden Layout
Now that we’ve identified the perfect location, it’s time to design a functional layout that maximizes both beauty and efficiency. Strategic planning ensures we’ll have easy access for maintenance while creating optimal growing conditions for our flowers.
Design Rows for Easy Access
Create pathways every four feet to enable comfortable harvesting without stepping into growing beds. Materials like flagstone, mulch, or cardboard work well for pathway surfaces and provide stable footing during wet conditions.
Keep bed widths to four feet maximum so we can reach across without straining or damaging plants. This measurement allows us to harvest from both sides while maintaining proper plant spacing.
Space rows adequately apart to prevent overcrowding and promote healthy air circulation. Proper spacing reduces disease risk and makes individual plants easier to access during peak blooming season.
Orient rows to maximize sunlight exposure while facilitating easy movement through the garden. East to west orientation often works best for capturing morning and afternoon light.
Group Plants by Height and Bloom Time
Position taller varieties toward the north side to prevent shading of shorter plants throughout the day. Sunflowers and tall zinnias should anchor the back rows while compact marigolds fill front spaces.
Arrange plants by their bloom schedules to ensure continuous flower production from spring through fall. Early bloomers like sweet peas can occupy spaces that late season dahlias will eventually fill.
Stagger planting times for the same varieties to extend harvesting periods and avoid overwhelming abundance followed by gaps. Successive sowings every two weeks work particularly well for quick growing annuals like zinnias.
Group similar height plants together to create visual harmony and simplify maintenance tasks like staking or pruning. Medium height cosmos and celosia pair beautifully in middle rows.
Create Dedicated Cutting Areas
Designate a covered preparation station with adequate table space for conditioning freshly cut stems. This area should include storage for essential tools like sharp scissors, buckets, and floral preservatives.
Position storage space nearby for vases, cutting tools, and water containers to streamline the flower gathering process. Easy access to supplies makes regular harvesting more enjoyable and efficient.
Install a water source close to cutting areas to immediately condition stems after harvesting. Quick hydration preserves flower quality and extends vase life significantly.
Reserve space for drying flowers if we plan to create dried arrangements or preserve seeds for next season. Covered areas with good air circulation work best for this purpose.
Select the Best Cut Flower Varieties
We’ll focus on varieties that deliver exceptional performance and stunning results in our home gardens. Building the perfect cut flower garden starts with choosing plants that match our exact growing conditions and harvest goals.
Annual Flowers for Continuous Blooms
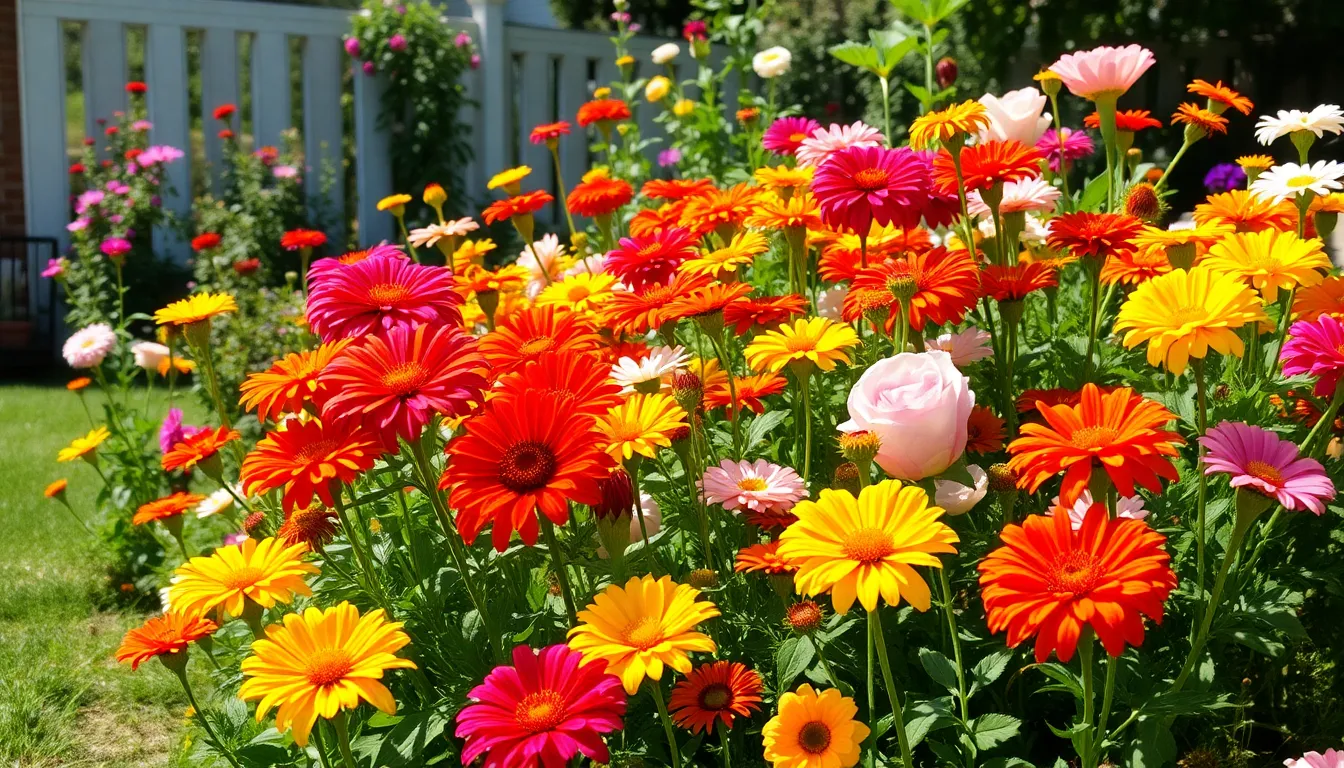
Zinnias top our list of must-have annuals because they provide continuous blooms throughout the entire growing season. We can easily grow these colorful flowers from seed and enjoy their wide range of vibrant colors. Regular harvesting actually encourages more flower production, making them perfect for weekly bouquets.
Marigolds offer both beauty and functionality in our cut flower gardens. These easy-to-grow flowers come in stunning shades of orange, yellow, and red while naturally repelling garden pests. We’ll appreciate their dual purpose as both cutting flowers and garden protectors.
Cosmos bring delicate, daisy-like blooms that can last up to a week in our vases. These resilient flowers thrive in varied growing conditions and continue producing stems even when we harvest regularly. Their feathery foliage adds texture to both garden beds and floral arrangements.
Perennial Flowers for Long-Term Investment
Hybrid Tea Roses deliver the most dramatic and fragrant blooms for our cutting garden investment. We’ll enjoy these classic flowers year after year as they return stronger each season. Their long stems and full blooms make them the centerpiece of elegant arrangements.
Veronica produces stunning flower spikes in purple, pink, white, and blue that last exceptionally long in arrangements. We’ll benefit from their ability to attract beneficial pollinators while remaining resistant to deer and rabbits. These hardy perennials provide reliable cutting material from mid-summer through fall.
Seasonal Specialty Flowers
Daffodils signal the start of our cutting season as early spring bloomers that emerge when most gardens are still dormant. We can force bulbs indoors during winter months for even earlier blooms. Their cheerful yellow and white flowers bring hope after long winter months.
Gladiolus create dramatic vertical elements in our summer arrangements with their impressive flower spikes. We can plant new bulbs annually to experiment with different color combinations each year. These easy-to-grow flowers produce multiple stems per bulb, maximizing our cutting harvest.
Prepare Your Soil for Optimal Growth
We can’t create a thriving cut flower garden without first establishing the foundation. Healthy soil preparation directly impacts both bloom quality and quantity throughout the growing season.
Test and Amend Soil pH
Testing your soil’s pH is crucial before planting any cut flowers. Most flowering plants thrive best in slightly acidic to neutral conditions, specifically within a pH range of 6.0 to 7.0.
Simple soil test kits from garden centers give you accurate readings within minutes. Digital pH meters provide even more precise measurements if you’re planning multiple beds.
Adjusting pH levels requires exact amendments based on your test results. Adding lime raises pH in acidic soils, while sulfur lowers pH in alkaline conditions.
Apply amendments at least two weeks before planting to allow proper soil integration. Work the materials into the top 6 to 8 inches of soil for maximum effectiveness.
Add Organic Matter and Compost
Applying a 3 to 4 inch layer of compost across each bed transforms soil structure and fertility. Quality compost improves moisture retention while providing essential nutrients for vigorous flower growth.
Mixing organic fertilizers like blood meal or alfalfa meal boosts nitrogen levels naturally. These amendments release nutrients slowly, feeding your flowers consistently throughout the growing season.
Incorporating aged manure adds both organic matter and beneficial microorganisms to the soil. Well composted materials prevent burning delicate root systems while improving overall soil health.
Working amendments into the existing soil creates the ideal growing medium. Turn materials to a depth of 8 to 10 inches using a garden fork or tiller.
Install Proper Drainage Systems
Ensuring adequate drainage prevents waterlogging that can destroy root systems. Poor drainage leads to root rot and other fungal diseases that devastate flower gardens.
Using a garden fork to loosen compacted soil improves air porosity significantly. Breaking up hard packed earth allows roots to penetrate deeper and access more nutrients.
Adding materials like perlite or vermiculite enhances drainage in heavy clay soils. These amendments create air pockets that allow excess water to move through the soil profile.
Creating raised beds provides excellent drainage for cut flower gardens. Elevating planting areas 6 to 8 inches above ground level ensures proper water movement away from root zones.
Working soil when it’s properly moist maintains its structural integrity during preparation. Avoid working wet or completely dry soil, which can create hard clods or dusty conditions.
Plant Your Cut Flower Garden Successfully
Once we’ve prepared our soil and selected our varieties, it’s time to put our plans into action. The planting phase requires strategic decisions about timing and spacing to ensure optimal flower production.
Start Seeds Indoors vs. Direct Sowing
Starting seeds indoors gives us a head start on the growing season and works especially well for plants that take longer to mature. We recommend this method for early spring planting when outdoor conditions aren’t quite ready. Indoor seed starting allows us to control temperature and moisture while our delicate seedlings develop strong root systems.
Direct sowing suits warmer climates or planting after the last frost has passed. This method works perfectly for flowers like sunflowers, zinnias, and cosmos that germinate quickly in warm soil. Direct sowing saves time and reduces transplant shock since plants develop naturally in their permanent location.
Follow Proper Spacing Guidelines
Plant spacing prevents overcrowding and reduces disease risk in our cut flower garden. We should plant sunflowers at 4 per square foot, zinnias at 1 per square foot, and cosmos at 2 per square foot for optimal growth and air circulation.
Height organization maximizes both beauty and accessibility during harvest time. Tall plants like sunflowers belong at the back of our beds, medium sized varieties fill the middle section, and short plants create attractive front borders. This arrangement ensures every plant receives adequate sunlight while making harvesting comfortable and efficient.
Time Your Plantings for Extended Harvests
Succession planting involves sowing seeds every few weeks to guarantee continuous blooms throughout the growing season. This technique works particularly well for flowers like sunflowers and zinnias that bloom for exact periods rather than all season long.
Seasonal timing extends our cutting garden’s productivity from spring through fall. We plant poppies and snapdragons in spring for early color, add sunflowers and cosmos during summer months, then finish with asters or chrysanthemums for autumn arrangements. This strategic approach ensures fresh flowers are always available for our indoor displays.
Maintain Your Cut Flower Garden Throughout the Season
Successful cut flower gardens require consistent care throughout the growing season to ensure healthy plants and continuous blooms. We’ll focus on three essential maintenance practices that keep our garden productive from spring through fall.
Carry out Regular Watering Schedules
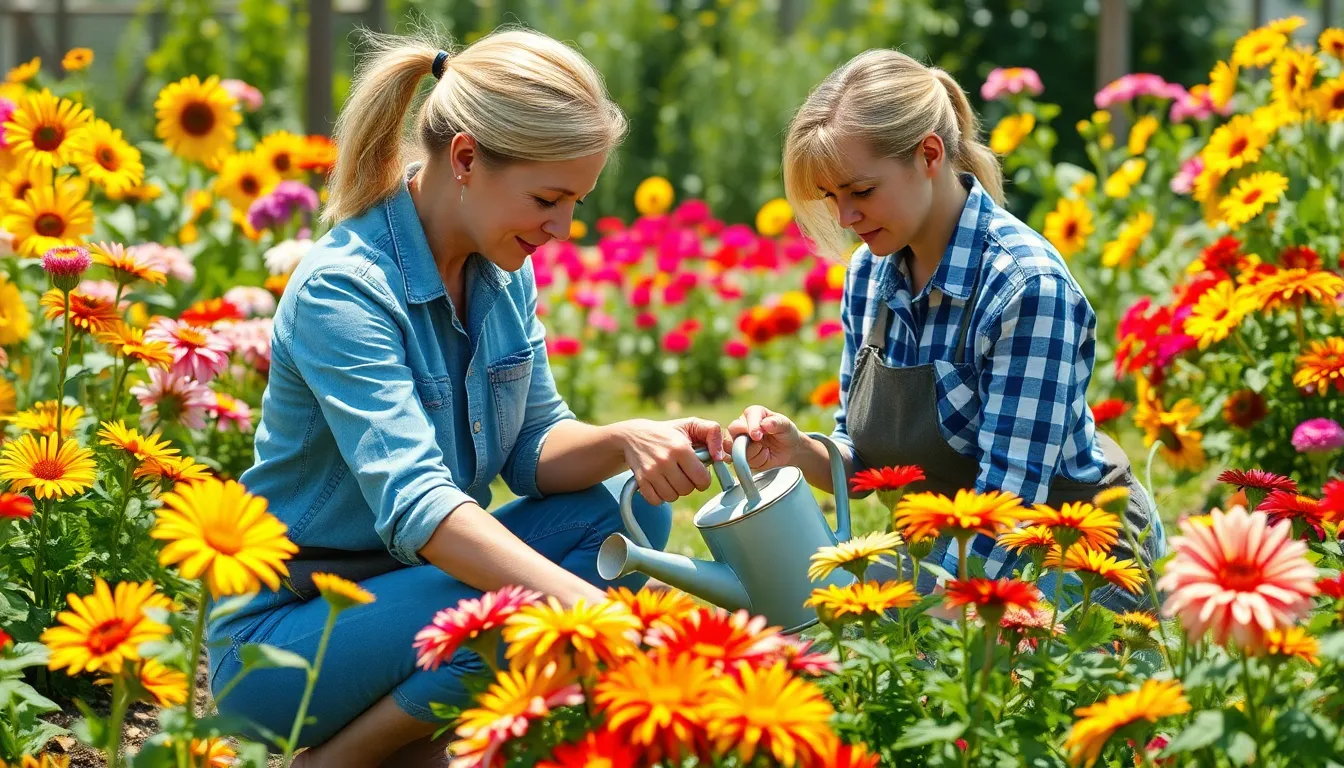
Watering at the base of plants early in the day reduces fungal problems and helps flowers stay healthy. We should avoid wetting the foliage since moisture on leaves can cause disease or unwanted color changes in our precious blooms. Consistent moisture becomes especially important during dry spells when plants stress easily.
Deep watering sessions work better than frequent shallow waterings because they encourage strong root development. Our cut flower garden needs about 1 to 1.5 inches of water per week, including rainfall. Drip irrigation systems or soaker hoses deliver water efficiently while keeping foliage dry.
Morning watering gives plants time to absorb moisture before the heat of the day arrives. This timing also allows any water on leaves to evaporate quickly, preventing disease issues that can damage our flower production.
Apply Appropriate Fertilization Programs
Most cut flowers benefit from soil enriched with compost and regular feeding every 2 to 4 weeks throughout the growing season. Liquid fertilizers such as fish emulsion provide the nutrition needed for vigorous growth and abundant blooms. Proper nutrition supports the energy plants need to produce the large, healthy flowers we want for cutting.
Organic compost worked into the soil before planting creates a foundation of slow release nutrients. We can supplement this base with liquid feeding during the active growing season to maintain plant health and flower production.
Balanced fertilizers with equal parts nitrogen, phosphorus, and potassium work well for most cut flower varieties. But, we should reduce nitrogen levels later in the season to encourage flower production rather than excessive leaf growth.
Control Weeds and Pests Naturally
Encouraging natural pest control by avoiding harmful chemicals keeps our cut flower garden healthy and environmentally friendly. We maintain healthy plants through good cultural practices like proper watering, pruning, and fertilizing, which reduces their susceptibility to pests and diseases naturally.
Mulching around plants suppresses weeds while retaining soil moisture and regulating temperature. Organic mulches like straw or shredded leaves also break down over time to improve soil structure and fertility.
Beneficial insects become our allies when we avoid pesticides and plant diverse flower varieties. Ladybugs, lacewings, and predatory wasps help control aphids and other harmful pests that might damage our flowers. Companion planting with herbs like basil and marigolds can also deter unwanted insects while attracting pollinators to our garden.
Harvest Flowers at the Right Time
We’ll maximize our cut flower garden’s potential by timing our harvests perfectly. The cooler parts of the day, such as early morning or late evening, provide optimal conditions for harvesting cut flowers.
Identify Peak Cutting Times
Different flowers reach their prime cutting stage at various points in their bloom cycle. Snapdragons perform best when we harvest them with about one-third of the flowers open, ensuring the remaining buds continue developing in the vase. Cosmos should be picked when buds are about to open and there are some open flowers already showing color. Lisianthus requires patience as we wait until the first bloom fades and others start opening for maximum vase life.
Before harvesting a major section, we should experiment with one or two flowers to ensure the best results. Observing the development of flowers helps us determine the optimal cutting time based on each variety’s unique characteristics. Most cut flowers last longer when harvested slightly before full bloom rather than at peak flowering.
Use Proper Cutting Techniques
Sharp, clean pruning shears or scissors prevent infection and ensure clean cuts that heal quickly. We should sterilize our tools between plants to avoid spreading diseases throughout our garden. Cutting deep into the plant encourages more branching and blooms while avoiding crushing the stem during the process.
Making a clean, angled cut about 1 to 2 inches above the base of the plant promotes healthy regrowth. The angled cut increases the surface area for water absorption and prevents the stem from sitting flat on the vase bottom. We’ll cut stems longer than needed since we can always trim them shorter when arranging.
Handle Flowers Immediately After Cutting
Placing cut flowers in cool water immediately prevents shock and maintains their freshness. The transition from garden to water should happen within minutes to preserve the flowers’ natural moisture content. Cool water helps slow the aging process and keeps stems hydrated during the critical first moments after cutting.
Removing any leaves or thorns from the lower part of the stems prevents bacterial growth in the vase water. We should strip all foliage that would sit below the waterline to maintain clean conditions. This preparation step significantly extends the life of our cut flowers and keeps our arrangements looking fresh longer.
Extend the Life of Your Cut Flowers
Fresh blooms from our cut flower garden deserve proper care to maximize their beauty and longevity. Simple techniques can extend vase life from days to weeks with the right approach.
Condition Stems Properly
Strip leaves from the lower portion of stems before placing flowers in water to prevent bacterial growth and water contamination[5]. Removing foliage below the waterline keeps arrangements cleaner and healthier for longer periods.
Cut stems at an angle underwater or under running water to improve water absorption and prevent air bubbles from blocking the stem[5]. Sharp, clean garden shears or floral scissors create the best cuts without crushing delicate stem tissues.
Trim stems by one to two inches every few days to maintain fresh surfaces for optimal water uptake. New cuts expose fresh vascular tissue that absorbs water more efficiently than older, sealed surfaces.
Split woody stems like lilac or forsythia at the base to increase their surface area for water absorption. Crushing the bottom inch of these stems with a hammer also helps tough varieties drink more effectively.
Create Optimal Storage Conditions
Change water daily or whenever it becomes cloudy to prevent bacterial buildup that shortens flower life[5]. Fresh, clean water provides the best environment for maintaining bloom quality and preventing premature wilting.
Add cut flower food to vase water to provide essential nutrients and antibacterial agents that extend bloom life[5]. Commercial flower food contains sugar for energy, acidifiers for better water uptake, and preservatives to inhibit bacterial growth.
Use cool water initially for most flowers, as it helps blooms stay firm and absorb moisture more readily. Room temperature water works well for ongoing maintenance after the initial conditioning period.
Place arrangements away from direct sunlight, heat sources, and drafts that accelerate water loss and aging. Cool locations between 65 to 70 degrees Fahrenheit provide ideal conditions for maximum vase life.
Arrange Flowers for Maximum Longevity
Remove spent blooms regularly to redirect the plant’s energy toward remaining buds and maintain overall arrangement appearance[5]. Deadheading prevents the formation of seeds that signal the plant to stop producing new flowers.
Adjust vase size as arrangements shrink to maintain proper proportion and stem support[5]. Smaller containers work better for fewer stems and help maintain the visual balance of remaining flowers.
Recut stems shorter as arrangements age to help tired flowers drink more easily and maintain their upright posture. Shorter stems require less energy to transport water from base to bloom.
Group flowers by similar water needs when creating mixed arrangements to ensure all varieties receive appropriate care. Grouping also makes it easier to remove spent blooms without disturbing the entire display.
Maximize Your Cut Flower Garden’s Productivity
Strategic techniques can transform your garden into a continuous bloom machine that delivers fresh flowers throughout the entire growing season.
Practice Succession Planting
Succession planting creates an uninterrupted supply of fresh blooms by staggering your planting schedule every 2-4 weeks. We recommend focusing this technique on short-lived flowers and single-harvest varieties that tend to bloom all at once.
Starting your succession routine means planting new batches of seeds or seedlings regularly throughout the season. Zinnias benefit tremendously from this approach since they’re cut-and-come-again plants that reward frequent harvesting. Cosmos also respond well to successive plantings, giving you waves of colorful blooms rather than one short burst.
Timing becomes crucial for maintaining this continuous cycle. Plant your first batch after the last frost date, then mark your calendar for follow-up plantings every 2-4 weeks. This prevents the frustrating gaps in flower production that often leave gardeners empty-handed during peak arranging season.
Deadhead Regularly for More Blooms
Deadheading spent flowers triggers most varieties to produce additional blooms instead of setting seed. We pinch off faded flowers just above a healthy set of leaves or buds to redirect the plant’s energy into new flower production.
Cut-and-come-again plants like zinnias and cosmos particularly benefit from this practice. Removing spent blooms stimulates lateral branching, which creates more flowering stems and extends the overall blooming period significantly. Regular deadheading sessions every few days keep plants looking tidy while maximizing their productive potential.
Sharp, clean tools make deadheading more efficient and prevent disease transmission between plants. Quick daily walks through your garden rows allow you to spot and remove spent blooms before they drain energy from new flower development.
Save Seeds for Next Season
Seed saving from your healthiest plants ensures cost-effective future plantings while maintaining genetic quality for robust growth. We collect seeds at the end of each plant’s natural season when seed heads are fully mature and dry.
Choosing your best performers for seed collection creates a stronger gene pool for next year’s garden. Select plants that showed excellent disease resistance, prolific blooming, and strong stems throughout the growing season. These superior genetics will carry forward to benefit future plantings.
Storage conditions determine seed viability for the following year. Keep collected seeds in a cool, dry place using labeled envelopes or small containers. Proper storage maintains germination rates and ensures your investment in seed saving pays off with vigorous plants next season.
Design Beautiful Arrangements from Your Garden
Our homegrown flowers provide endless opportunities to create stunning arrangements that rival professional florists. We’ll transform our garden’s bounty into beautiful displays that celebrate each season’s unique character.
Combine Colors and Textures Effectively
Mixing vibrant flowers with foliage creates visually striking arrangements that showcase your garden’s diversity. We can pair bright zinnias with delicate herb flowers like oregano or dill to add unexpected texture and fragrance. Incorporating different stem heights adds natural movement to our arrangements, while contrasting colors create focal points that draw the eye.
Balancing bold blooms with subtle elements ensures our arrangements feel cohesive rather than chaotic. We achieve this by using a 60-30-10 color rule, where one dominant color takes up 60% of the arrangement, a secondary color fills 30%, and an accent color provides 10% visual interest. Adding greenery like leaves from our cutting garden plants softens harsh color transitions and provides a natural backdrop for our flowers.
Varying textures throughout each arrangement creates depth and visual interest that keeps viewers engaged. We can combine smooth petals from cosmos with the papery texture of poppy pods, or mix the feathery plumes of amaranth with the sturdy faces of sunflowers. Including herbs and less traditional plants adds complexity while introducing pleasant fragrances that enhance the overall sensory experience.
Create Seasonal Themed Bouquets
Spring arrangements feature pastel colors and delicate flowers that capture the season’s fresh awakening. We use poppies, Queen Anne’s lace, bachelor’s buttons, and anemones to create light, airy bouquets that celebrate renewal. These arrangements work beautifully in smaller vases and bring the gentle energy of spring indoors.
Summer bouquets showcase vibrant colors and bold forms that reflect the season’s abundant energy. We incorporate sunflowers, zinnias, cosmos, and gomphrena to create arrangements that command attention with their saturated hues and dramatic shapes. These flowers thrive in the heat and provide long lasting displays that capture summer’s peak intensity.
Fall arrangements emphasize warm tones and rich textures that mirror autumn’s changing industry. We combine sunflowers, amaranth, orach, and marigolds to create bouquets with deep oranges, burgundies, and golden yellows. Adding dried elements from our garden creates arrangements that transition beautifully from fresh to preserved displays.
Share Your Homegrown Flowers with Others
Gifting bouquets from our cut flower garden spreads joy while showcasing our gardening achievements. We can create personalized arrangements for friends and family members, tailoring color combinations and flower choices to match their preferences or home decor. These thoughtful gifts carry more meaning than store bought flowers because they represent our time, care, and personal touch.
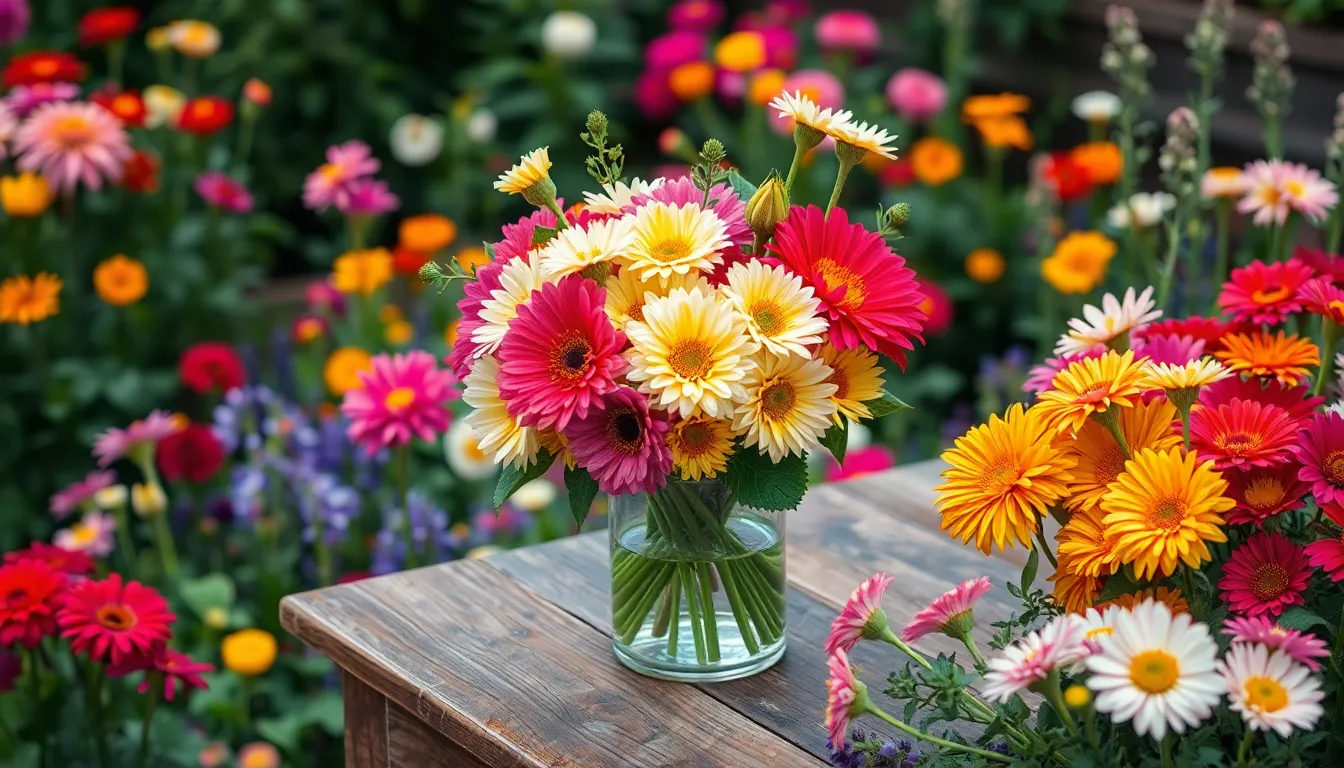
Selling flowers at local farmers markets transforms our hobby into a potential income source. We can start small by offering simple bouquets in rustic containers or mason jars, which highlight the natural beauty of our homegrown flowers. Building relationships with regular customers helps us understand which varieties and arrangements generate the most interest.
Using creative containers enhances the presentation of our flowers while adding rustic charm. We display our arrangements in bud vases, vintage milk bottles, or weathered wooden boxes that complement the organic nature of our garden grown flowers. These containers become part of the gift and provide recipients with unique vessels they can reuse for future arrangements.
Conclusion
We’ve shared everything you need to transform your outdoor space into a thriving cut flower paradise. From selecting the perfect sunny location to mastering harvest timing your garden will soon overflow with stunning blooms that outshine any store-bought arrangement.
Your dedication to proper soil preparation consistent care and strategic planting will reward you with months of beautiful flowers. Whether you’re creating intimate bouquets for your dining table or generous arrangements to share with neighbors the satisfaction of growing your own cutting garden is unmatched.
Start small this season and expand as your confidence grows. With each passing year your garden will become more productive and your arranging skills more refined. Soon you’ll wonder how you ever lived without this colorful sustainable source of natural beauty right outside your door.
Frequently Asked Questions
What is a cut flower garden?
A cut flower garden is a dedicated garden space designed specifically for growing flowers that you harvest and bring indoors for arrangements. Unlike ornamental gardens meant purely for outdoor display, cut flower gardens focus on producing blooms for bouquets, vases, and floral displays throughout your home.
What are the benefits of growing a cut flower garden?
Growing your own cut flowers saves money on store-bought bouquets and allows you to create personalized seasonal arrangements that showcase your individual style. You’ll have access to unique flower varieties not available in local shops, plus the satisfaction of creating beautiful arrangements from your own garden.
How much sunlight do cut flowers need?
Most cut flowers thrive with 6 to 8 hours of direct sunlight daily. However, some shade-tolerant varieties like certain perennials can grow successfully in partial shade conditions. When choosing your garden location, assess the sunlight patterns throughout the day to ensure optimal growing conditions.
What flowers are best for beginners in cut flower gardening?
Zinnias, cosmos, marigolds, and sunflowers are excellent choices for beginners. These annual flowers are easy to grow, provide continuous blooms throughout the season, and thrive with regular harvesting. They’re also resilient and forgiving if you make mistakes while learning.
How should I prepare soil for a cut flower garden?
Test your soil pH and aim for a slightly acidic to neutral range (6.0 to 7.0). Add organic matter and compost to improve soil structure and fertility. Ensure proper drainage by creating raised beds if needed, and incorporate materials like perlite in heavy clay soils.
When is the best time to plant cut flowers?
Timing depends on your climate and flower type. Start seeds indoors 6-8 weeks before the last frost for early spring planting, or direct sow after the last frost date in warmer climates. Cold-hardy annuals can be planted earlier than heat-loving varieties.
How often should I water my cut flower garden?
Water deeply 1 to 1.5 inches per week, focusing on the base of plants rather than the foliage to prevent disease. Water early morning or late evening for best results. Consistent moisture is key, but avoid overwatering which can lead to root rot.
What is succession planting in cut flower gardening?
Succession planting involves staggering plantings every 2-4 weeks throughout the growing season. This technique ensures a continuous supply of fresh blooms from spring through fall, rather than having all flowers bloom at once and then fade simultaneously.
When is the best time to harvest cut flowers?
Harvest flowers during the cooler parts of the day – early morning or late evening when stems are fully hydrated. Cut when buds are just beginning to open for longest vase life. Use clean, sharp tools and immediately place stems in cool water.
How can I make my cut flowers last longer in vases?
Cut stems at an angle underwater, strip lower leaves, and use fresh, clean water with flower food. Change water daily, retrim stems every few days, and keep arrangements in cool locations away from direct sunlight and heat sources.
How much space do I need for a cut flower garden?
Cut flower gardens can be adapted to any space size. Keep bed widths to a maximum of 4 feet for easy access, create pathways every 4 feet for comfortable harvesting, and ensure proper spacing between plants to prevent overcrowding and promote healthy air circulation.
Can I sell flowers from my cut flower garden?
Yes! Many gardeners successfully sell their homegrown flowers at local farmers markets, through flower subscriptions, or to neighbors and friends. Start small, focus on popular varieties, and use creative containers to enhance presentation and increase value.
