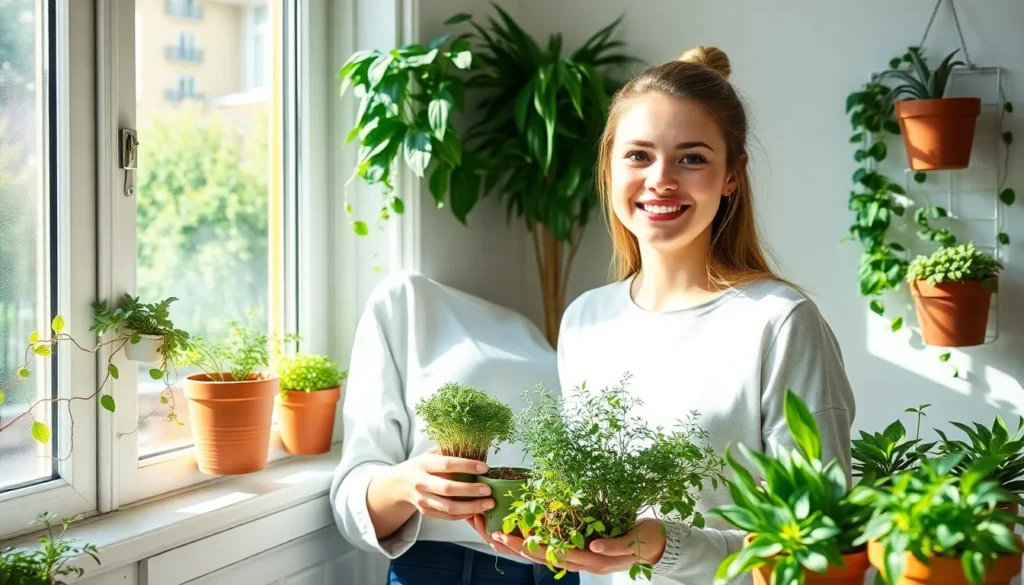
Creating an indoor garden transforms any living space into a vibrant sanctuary that brings nature’s beauty directly to your doorstep. Whether you’re dealing with limited outdoor space or harsh weather conditions, we’ve discovered that indoor gardening offers endless possibilities for growing everything from fresh herbs to stunning flowering plants.
We understand the challenges of modern living – small apartments, busy schedules, and unpredictable climates can make traditional gardening seem impossible. That’s why indoor gardening has become our go-to solution for adding life and freshness to any home environment.
From vertical wall gardens that maximize space to low-maintenance succulent displays perfect for beginners, we’ll share innovative ideas that work for every skill level and living situation. These creative indoor garden concepts will help you cultivate your own green oasis while improving air quality and bringing natural beauty into your daily life.
Start With Herb Gardens for Beginner-Friendly Indoor Growing
Herb gardens offer the perfect entry point for indoor gardening newcomers, providing quick results and practical benefits for everyday cooking. These fragrant plants typically require minimal care while delivering fresh flavors to enhance our meals.
Choose Easy-to-Grow Herbs Like Basil and Mint
Basil thrives in warm indoor conditions and produces abundant leaves within 3-4 weeks of planting. We can harvest individual leaves or cut entire stems, encouraging continuous growth throughout the growing season. Sweet basil varieties like Genovese work exceptionally well in containers, requiring only 6-8 hours of daily sunlight.
Mint varieties establish quickly and spread rapidly in indoor pots, making them ideal for beginners who want visible progress. Spearmint and peppermint adapt well to indoor environments, tolerating lower light conditions than most herbs. We should plant mint in its own container since it can overtake other plants when grown together.
Chives provide year-round harvests with their grass-like leaves that regrow after cutting. These hardy herbs tolerate various light conditions and require watering only when the soil feels dry to touch. We can snip chives directly into our dishes for fresh onion flavor without the tears.
Oregano develops robust flavor in compact indoor spaces and requires minimal attention once established. Mediterranean oregano varieties perform best indoors, producing aromatic leaves that intensify when dried. We should pinch flower buds to encourage leaf production and maintain the plant’s bushy growth pattern.
Use Kitchen Window Sills for Optimal Light Exposure
South-facing windows deliver 6-8 hours of direct sunlight that most herbs need for healthy growth and oil production. We can position herb containers along these bright windowsills to maximize natural light exposure without additional equipment. Kitchen locations also provide convenient access for daily harvesting and cooking integration.
East-facing windows offer gentle morning light that works well for herbs sensitive to intense afternoon heat like cilantro and parsley. These locations receive 4-6 hours of quality sunlight, sufficient for steady herb production. We should rotate containers weekly to ensure even growth on all sides of our plants.
Window shelf extensions expand growing space when sill depth limits container sizes. We can install simple wooden shelves or metal brackets to create multiple tiers for herb collections. These additions accommodate 4-6 herb pots while maintaining proper light access for each plant.
Light-colored surfaces reflect additional brightness onto herb containers when we place white plates or aluminum foil behind our plants. This simple technique increases light intensity by 20-30% without moving containers to different locations. We should monitor plants closely since reflected light can sometimes create hot spots that stress delicate herbs.
Create Vertical Gardens to Maximize Small Spaces
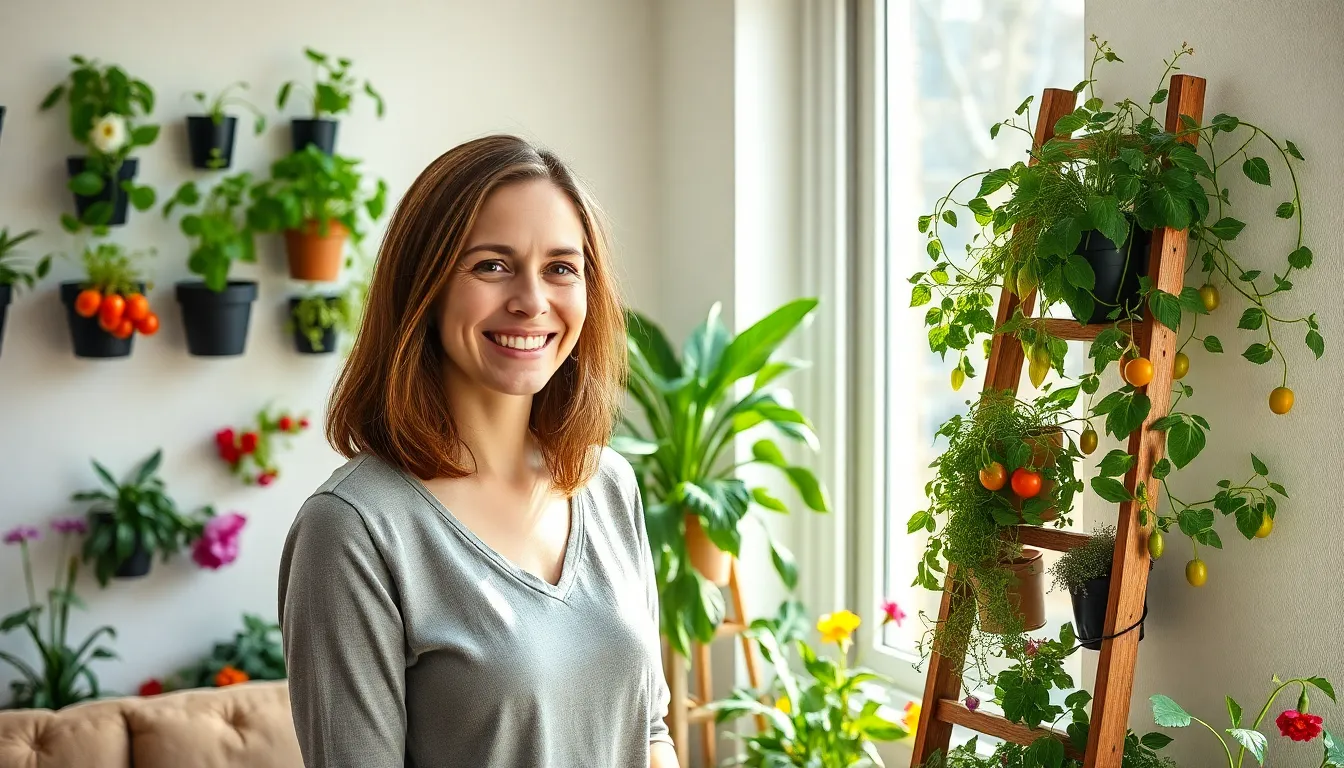
Vertical gardening transforms limited indoor spaces into productive growing areas by utilizing wall-mounted pots, macrame hangers, and repurposed shelves. We can grow plants upward instead of outward, maximizing our available space and creating multiple planting opportunities within a small footprint.
Install Wall-Mounted Planters for Climbing Vegetables
Wall-mounted planters excel at supporting climbing vegetables that naturally vine and thrive with vertical support. We recommend growing cucumbers, cherry tomatoes, pole beans, and peas in these systems since they adapt well to container growing and produce abundant harvests in vertical spaces.
Positioning these planters near windows ensures adequate sunlight exposure for healthy plant growth. South-facing windows provide the most intense light throughout the day, while east-facing locations work well for heat-sensitive varieties. We can supplement natural light with grow lights when window access is limited.
Supporting structures like trellises or sturdy lattices within the containers help climbing vegetables reach their full potential. Cherry tomato varieties particularly suit wall-mounted systems since they’re compact yet productive. Installing these planters at different heights creates a cascading garden effect while maintaining easy access for harvesting.
Build Ladder-Style Plant Stands for Tiered Growing
Ladder-style plant stands provide multiple growing levels within a compact footprint, increasing our surface area for containers significantly. We can cultivate herbs, flowers, and leafy greens together on different tiers without overcrowding any single plant.
Each level accommodates plants with similar light and water requirements, making care routines more efficient. Top shelves receive the most light and work well for sun-loving herbs like basil and oregano. Lower tiers suit shade-tolerant plants such as lettuce and spinach.
These stands relocate easily when we need to rearrange our space or follow seasonal light patterns. We can construct them from wood, metal, or repurposed materials like old ladders or bookshelves. The tiered design allows us to grow a diverse range of plants vertically while maintaining easy access for daily maintenance and harvesting.
Design Hydroponic Systems for Soil-Free Cultivation
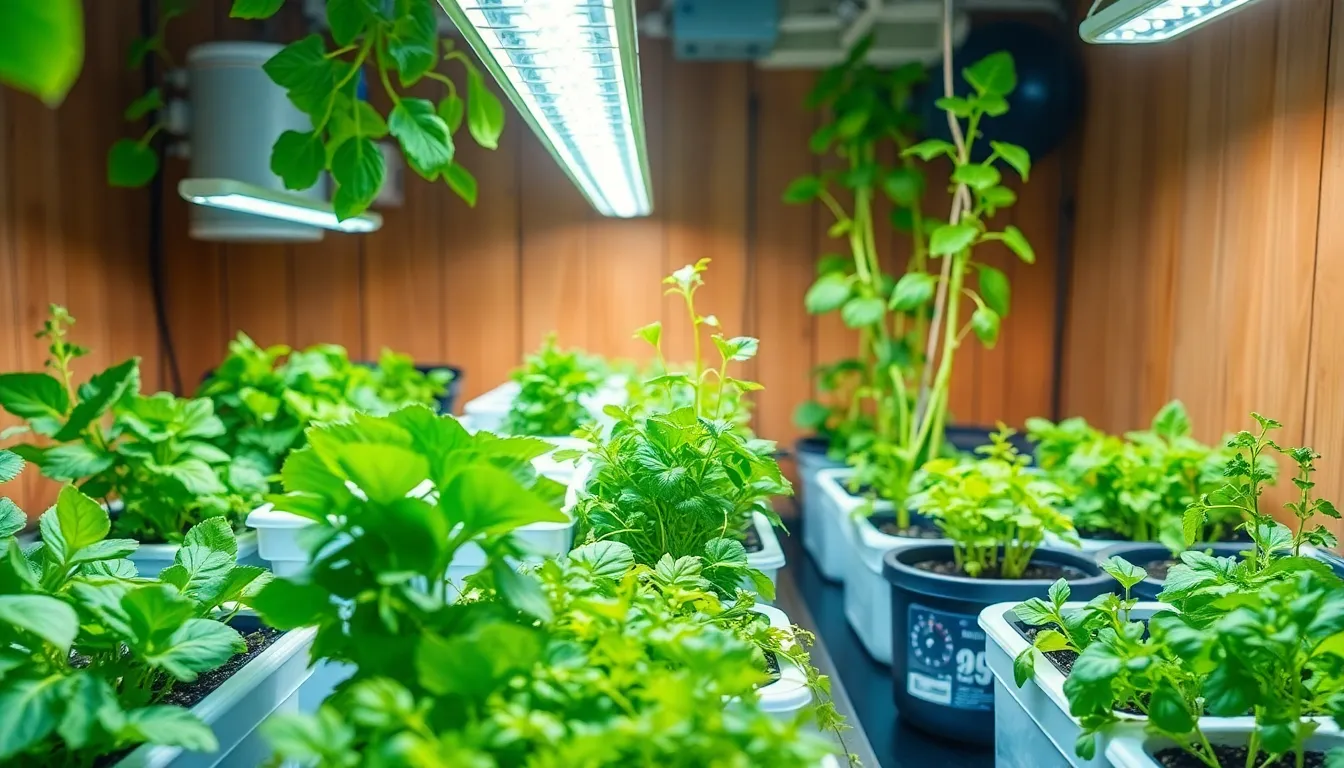
Moving beyond traditional potting methods opens exciting possibilities for indoor gardening enthusiasts. Hydroponic systems eliminate soil dependency while delivering nutrients directly to plant roots through water-based answers.
Set Up Simple Water-Based Growing Containers
Container selection forms the foundation of any successful hydroponic setup. We recommend choosing containers that offer easy cleaning access and proper water circulation capabilities. Deep Water Culture (DWC) systems work exceptionally well for beginners since they require minimal equipment while delivering impressive results.
LED lighting becomes essential for promoting photosynthesis throughout the year. These energy-efficient lights provide consistent illumination that supports continuous plant growth regardless of seasonal changes. Position LED panels 12-18 inches above your containers to ensure optimal light distribution.
Environmental control determines your system’s overall success rate. We maintain temperatures between 65-75°F while keeping humidity levels around 50-70% for most hydroponic crops. Monitor these conditions regularly using digital thermometers and hygrometers to prevent stress-related plant issues.
Water circulation prevents stagnation and ensures nutrients reach every root system effectively. Simple air pumps with air stones create the necessary oxygenation that keeps roots healthy and promotes faster growth rates than traditional soil methods.
Choose Nutrient Answers for Optimal Plant Health
Balanced nutrients must include nitrogen, potassium, and phosphorus as primary macronutrients for healthy plant development. Commercial hydroponic answers typically contain these elements in ratios specifically formulated for different plant types and growth stages.
Growth phase adjustments maximize plant productivity throughout their lifecycle. Seedlings require lower nutrient concentrations around 400-600 PPM, while mature plants thrive with answers ranging from 800-1200 PPM depending on the exact crop variety.
Popular hydroponic crops that perform exceptionally well include leafy greens like lettuce, kale, arugula, and collard greens. Herbs such as basil and mint adapt quickly to hydroponic conditions, while fruits like strawberries and tomatoes produce abundant harvests when provided with proper nutrient management.
Solution monitoring involves checking pH levels weekly to maintain optimal ranges between 5.5-6.5 for most plants. We use digital pH meters and TDS meters to track nutrient concentrations, ensuring plants receive consistent feeding schedules that promote vigorous growth.
Establish Succulent Collections for Low-Maintenance Beauty
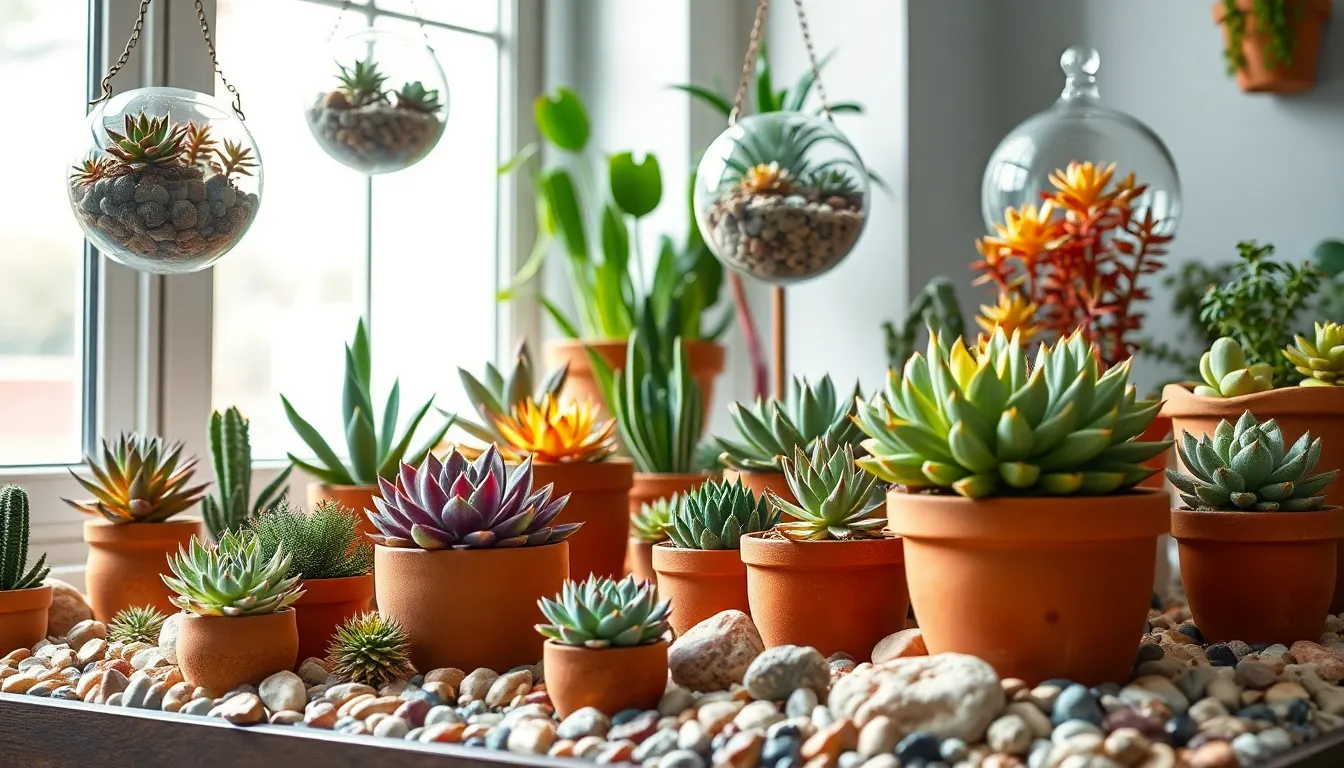
Transitioning from hydroponic systems to even simpler growing methods, we can create stunning indoor displays with virtually no daily maintenance required. Succulents offer us the perfect solution for busy lifestyles while still delivering impressive visual impact.
Select Drought-Tolerant Varieties for Easy Care
We recommend starting with compact succulents like rosette types, Haworthias, and Gasterias since these plants don’t require frequent replanting and adapt well to indoor conditions. String of Bananas, Aloe Vera, and Jade Plants make excellent choices for beginners because they’re incredibly forgiving and thrive with minimal attention.
Optimal lighting becomes crucial for succulent success. We should place our collections in bright, indirect sunlight rather than direct sun, especially avoiding hot windows that can scorch delicate leaves. East or north-facing windows typically provide ideal conditions for most indoor succulents.
Watering schedules require a completely different approach than traditional houseplants. We need to water sparingly, allowing soil to dry completely between waterings to prevent root rot. Most succulents prefer being slightly underwatered rather than overwatered.
| Succulent Type | Light Requirements | Watering Frequency | Beginner Friendly |
|---|---|---|---|
| String of Bananas | Bright, indirect | Every 2-3 weeks | Yes |
| Aloe Vera | Bright, indirect | Every 3-4 weeks | Yes |
| Jade Plants | Bright, indirect | Every 2-3 weeks | Yes |
| Haworthias | Moderate, indirect | Every 3-4 weeks | Yes |
| Gasterias | Moderate, indirect | Every 3-4 weeks | Yes |
Arrange Mini Desert Landscapes in Decorative Containers
Container selection dramatically impacts both plant health and visual appeal. We can use decorative containers with proper drainage, such as terracotta pots or glass terrariums that complement our interior design while supporting plant growth.
Creative planting options include concrete mini planters made from molds or small boxes for a modern industrial look. Spray painted terracotta pots add vibrant colors and personality to our collections. Hanging glass terrariums create floating mini desert landscapes that maximize natural light exposure near windows.
Arrangement techniques involve mixing different succulent sizes and textures to create visual interest and depth. We should incorporate pebbles or small rocks around our plants to improve drainage while adding aesthetic appeal. Layering different heights and colors creates ever-changing displays that serve as living art pieces in our homes.
Maintenance considerations remain minimal once we establish our mini landscapes. These arrangements typically require attention only once every few weeks, making them perfect for our busy schedules while still providing the satisfaction of nurturing living plants.
Build Container Gardens Using Repurposed Materials
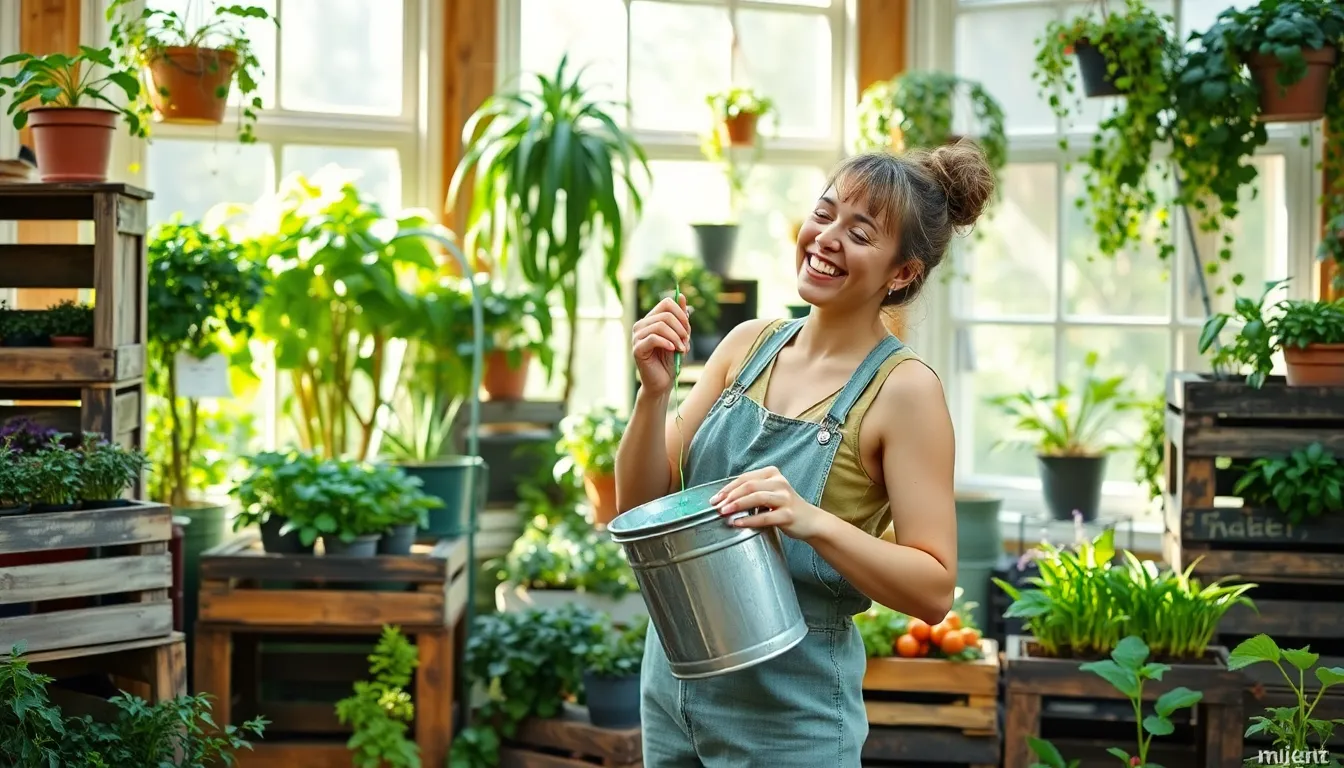
Repurposing everyday items transforms waste into beautiful growing containers while saving money. We’ll explore creative ways to give new life to household materials.
Transform Old Buckets Into Plant Containers
Buckets create excellent large capacity planters for substantial indoor gardens. We recommend cleaning them thoroughly with soap and water before starting any project. Metal buckets work especially well for herbs like mint and basil that require deeper root systems.
Drilling drainage holes prevents waterlogged soil and root rot in your plants. Start with a 1/4 inch drill bit and create 3-4 holes spaced evenly across the bottom. Paint or decorate the exterior with stickers to match your home’s aesthetic.
Fill buckets with quality potting soil rather than garden dirt for better drainage. We’ve found that adding a layer of gravel at the bottom improves water flow. Large plants like tomatoes or pepper varieties thrive in these spacious containers.
Position painted buckets near windows for optimal light exposure. Dark colored buckets absorb heat which can stress plant roots during summer months. Choose lighter colors or add reflective materials to maintain proper root temperatures.
Convert Wooden Crates Into Rustic Planters
Crates offer natural charm and excellent drainage for indoor container gardens. We suggest reinforcing loose joints with wood screws before adding soil and plants. Wine crates and apple boxes make particularly attractive planters with their weathered appearance.
Line wooden crates with industry fabric to prevent soil from falling through gaps. This material allows water drainage while keeping growing medium contained. Staple the fabric securely along the interior edges for long lasting results.
Stack multiple crates to create tiered growing systems that maximize vertical space. We recommend using different sized crates for visual interest and varied planting depths. Herbs like oregano and chives grow well in shallow crates while deeper ones accommodate root vegetables.
Stain or paint wooden surfaces with plant safe finishes to extend their lifespan. Natural wood sealers protect against moisture damage without harmful chemicals. We’ve seen great results with clear polyurethane coatings applied in thin even layers.
Position crate gardens on protective trays to prevent water damage to floors. Rolling plant caddies make moving heavy wooden containers easier for cleaning and seasonal adjustments. Consider adding wheels to larger crate assemblies for improved mobility.
Install Grow Light Systems for Year-Round Production

Proper lighting transforms any indoor space into a productive growing environment that operates independently of seasonal changes and weather conditions.
Choose LED Lights for Energy-Efficient Growing
LED grow lights offer the most energy-efficient solution for indoor gardening while providing the full spectrum of light that plants need for photosynthesis. These modern lighting systems consume significantly less electricity than traditional fluorescent or incandescent bulbs while generating minimal heat.
We recommend selecting full-spectrum LED panels that emit both blue and red wavelengths since blue light promotes leafy growth and red light encourages flowering and fruiting. Quality LED systems last 50,000 hours or more compared to just 10,000 hours for fluorescent alternatives.
Energy costs decrease dramatically with LED technology since these lights use 50-80% less power than conventional grow lights. Most indoor gardeners find that LED systems pay for themselves within the first year through reduced electricity bills and increased plant yields.
Position Lights at Proper Heights for Plant Development
Proper light positioning ensures optimal plant growth while preventing heat damage and light burn on delicate leaves. We position LED grow lights approximately 6-12 inches above seedlings and young plants to provide adequate intensity without overwhelming them.
Height adjustments become crucial as plants mature since different growth stages require varying light intensities. Mature herbs and leafy greens thrive with lights positioned 12-18 inches above the canopy while fruiting plants like tomatoes and peppers need lights 18-24 inches away.
Most plants require 4-12 hours of artificial lighting daily depending on their exact needs and natural light availability. Herbs typically need 4-6 hours of supplemental lighting while vegetables often require 8-12 hours for proper development.
We use adjustable hanging systems or telescoping light stands to easily modify light height as plants grow taller. This flexibility prevents the need to constantly relocate plants and maintains consistent growing conditions throughout the entire growth cycle.
Cultivate Microgreens for Quick Harvest Cycles
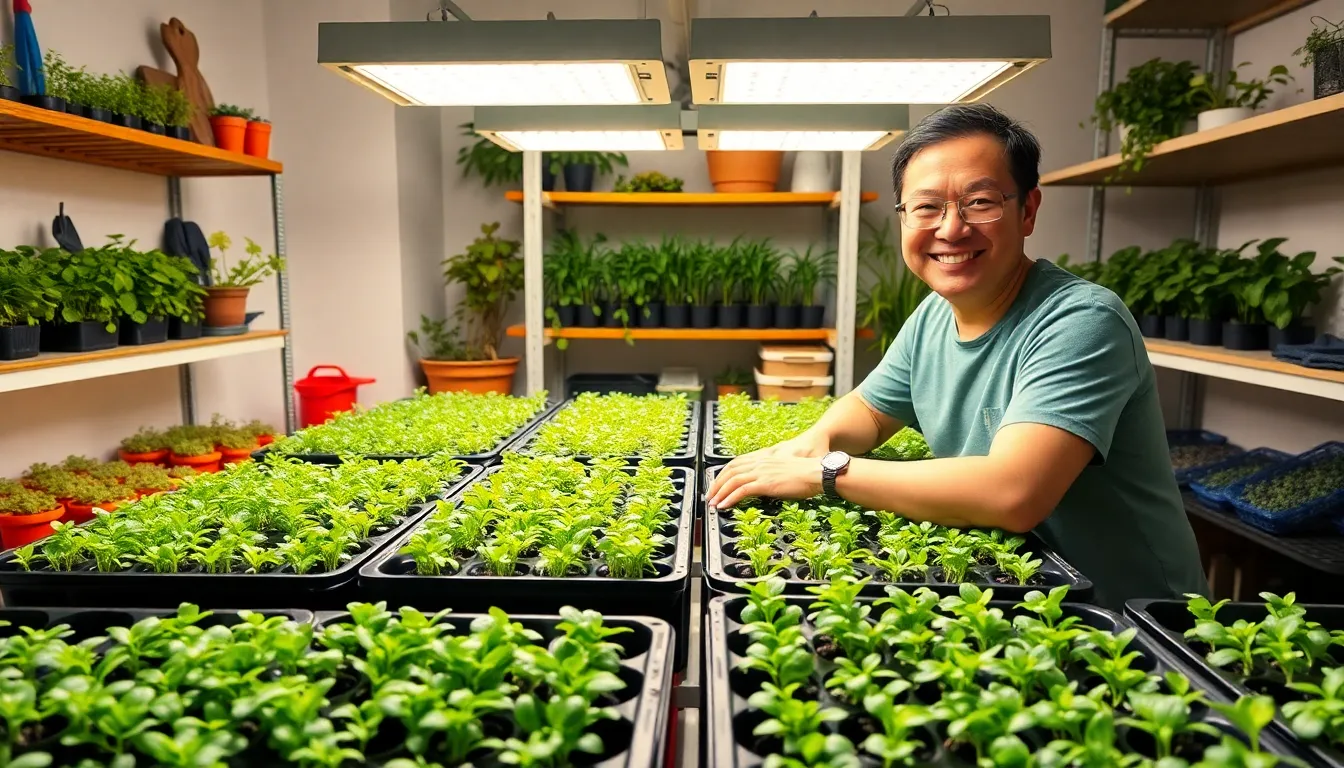
Microgreens represent the perfect solution for those seeking immediate results from their indoor garden. These nutrient-packed seedlings deliver faster gratification than any other growing method we’ve explored.
Grow Nutrient-Dense Sprouts in Small Trays
Small containers transform into productive growing spaces when we focus on microgreen cultivation. We can use shallow trays measuring just 10×20 inches to grow dozens of plants simultaneously. Clean food containers like plastic takeout boxes work perfectly for this purpose, provided we drill drainage holes in the bottom.
Seeds require exact preparation techniques depending on their variety. We soak most seeds overnight in room temperature water to accelerate germination, though basil and chia seeds skip this step entirely. Coconut coir offers an excellent soilless growing medium that maintains proper moisture levels without becoming waterlogged.
Artificial lighting becomes essential for consistent microgreen production in indoor environments. LED grow lights positioned 12-18 inches above the trays provide the spectrum plants need for healthy development. We run these lights for 12-14 hours daily to simulate optimal growing conditions.
Bacterial prevention starts with sanitized growing containers and clean water sources. We rinse all equipment with diluted bleach solution before each growing cycle. Fresh air circulation around our growing trays prevents moisture buildup that encourages harmful microorganisms.
Harvest Fresh Greens Within Days of Planting
Quick harvest cycles make microgreens incredibly rewarding for indoor gardeners seeking immediate results. We typically harvest our crops within 7 to 21 days after planting, depending on the exact variety we choose. Radish microgreens mature fastest at just one week, while sunflower varieties need the full three weeks.
Sharp scissors create clean cuts when we harvest microgreens at their peak freshness. We cut stems just above the growing medium when the first set of true leaves appears. This timing ensures maximum nutrient density and optimal flavor profiles.
Multiple harvests become possible with certain microgreen varieties that regrow after cutting. Peas and wheatgrass often produce second flushes, extending our harvest window beyond the initial cutting. We maintain consistent watering schedules to encourage this continued growth.
Storage techniques preserve freshness for several days after harvesting. We place cut microgreens in sealed containers with paper towels to absorb excess moisture. Refrigerated microgreens maintain their crisp texture and vibrant nutrients for up to one week when stored properly.
Develop Air Plant Displays for Unique Visual Appeal

Air plants offer an exceptional opportunity to create stunning displays that require minimal maintenance while delivering maximum visual impact. These remarkable Tillandsia species absorb moisture through their leaves rather than roots, making them perfect for creative mounting and display techniques.
Mount Tillandsia Species on Driftwood or Rocks
Mounting air plants on natural materials creates breathtaking focal points that blend seamlessly with any decor style. We recommend selecting pieces of weathered driftwood or textured rocks that complement your space’s aesthetic while providing adequate support for your Tillandsia collection.
Secure your air plants using copper wire or fishing line, which won’t corrode or damage the delicate leaves over time. Wrap the wire gently around the base of each plant, then attach it to grooves or holes in your chosen mounting surface.
Position mounted displays near bright, indirect light sources to ensure optimal growth conditions. East or west-facing windows provide ideal lighting without the harsh intensity that can damage these sensitive plants.
Create dimensional arrangements by mounting multiple air plant varieties at different heights and angles on larger driftwood pieces. This technique adds depth and visual interest while showcasing the unique forms of different Tillandsia species.
Create Hanging Terrariums for Floating Garden Effects
Glass container displays transform air plants into captivating floating gardens that draw the eye upward and maximize vertical space. We suggest using clear glass orbs, geometric terrariums, or repurposed glass containers to house your air plant collections.
Fill terrariums sparingly with decorative elements like colored sand, small stones, or preserved moss to create interesting backdrops without overwhelming the plants themselves. These materials also help maintain proper air circulation around the roots.
Suspend multiple terrariums at varying heights using macrame hangers, metal chains, or fishing line to create a cascading garden effect. This arrangement technique works particularly well in corners or near windows where natural light can illuminate the displays.
Maintain proper ventilation by choosing containers with adequate openings or removing lids periodically to prevent moisture buildup. Air plants require excellent air circulation to thrive in enclosed environments.
Rotate displays regularly to ensure all sides of your air plants receive equal light exposure, promoting balanced growth and preventing plants from leaning toward light sources.
Conclusion
We’ve explored countless ways to transform any indoor space into a thriving garden sanctuary. From beginner-friendly herbs on windowsills to sophisticated hydroponic systems these options prove that limited space doesn’t mean limited possibilities.
Whether you choose low-maintenance succulents quick-growing microgreens or eye-catching air plants there’s an indoor gardening solution that fits your lifestyle and skill level. The key lies in starting small and gradually expanding as your confidence grows.
Your indoor garden journey begins with a single plant and grows into something beautiful that enhances both your living space and well-being. We’re confident these ideas will help you create the green oasis you’ve been dreaming of.
Frequently Asked Questions
What are the best plants for beginners to start indoor gardening?
Herbs like basil, mint, chives, and oregano are perfect for beginners. They’re easy to grow, require minimal care, and provide immediate cooking benefits. Succulents like Aloe Vera, Jade Plants, and String of Bananas are also excellent choices due to their drought tolerance and low maintenance requirements.
How can I maximize growing space in a small apartment?
Vertical gardening is the key to maximizing small spaces. Use wall-mounted pots, macrame hangers, and repurposed shelves to create growing zones. Ladder-style plant stands create tiered levels, while window shelf extensions help utilize kitchen windowsills more effectively without overcrowding your limited floor space.
What lighting do indoor plants need to thrive?
Most indoor plants need bright light for optimal growth. South-facing windows work best for most herbs, while east-facing windows suit heat-sensitive varieties. For year-round growing, LED grow lights provide energy-efficient, full-spectrum lighting essential for photosynthesis and healthy plant development.
How does hydroponic gardening work indoors?
Hydroponic systems deliver nutrients directly to plant roots through water-based solutions, eliminating soil dependency. Deep Water Culture (DWC) systems are beginner-friendly, requiring minimal equipment. You’ll need proper LED lighting, balanced nutrients, water circulation with air pumps, and pH monitoring for successful hydroponic growing.
What containers work best for indoor gardening?
Terracotta pots offer excellent drainage for succulents, while repurposed materials like old buckets and wooden crates make cost-effective planters. Glass terrariums work well for air plants. Ensure all containers have proper drainage holes and consider the plant’s size requirements when selecting container dimensions.
How often should I water my indoor plants?
Watering frequency depends on plant type. Herbs typically need consistent moisture, while succulents require soil to dry completely between waterings to prevent root rot. Microgreens need regular misting, and air plants should be soaked weekly. Always check soil moisture before watering to avoid overwatering.
What are microgreens and how quickly do they grow?
Microgreens are young vegetable seedlings harvested at 1-3 inches tall. They’re nutrient-dense and grow incredibly fast, typically ready for harvest in 7-14 days. They require small trays, proper seeds, artificial lighting, and regular misting. Some varieties can regrow after cutting for multiple harvests.
Do air plants really need no soil?
Yes, air plants (Tillandsia species) are epiphytes that absorb nutrients and moisture through their leaves rather than roots. They need bright, indirect light, good air circulation, and weekly soaking. Mount them on driftwood, rocks, or display in glass terrariums for stunning visual effects.
