L-shaped gardens present unique opportunities that many homeowners overlook. We’ve discovered that these angular outdoor spaces can become stunning focal points when designed with the right approach and creative vision.
Most people see an L-shaped garden as a challenge but we view it as your secret weapon for creating distinct outdoor zones. The natural division this layout provides allows you to maximize functionality while maintaining visual appeal. You’ll find that the corners and angles work perfectly for creating intimate seating areas privacy screens and ever-changing planting schemes.
We’re excited to share our proven strategies that transform awkward L-shaped spaces into garden masterpieces. From clever zoning techniques to strategic plant placement these ideas will help you unlock your garden’s full potential and create an outdoor space that’s both practical and breathtaking.
Create Distinct Garden Zones Using Natural Divisions
Natural divisions transform L shaped gardens into purposeful outdoor spaces that maximize both functionality and beauty. We’ll explore how strategic zoning creates seamless transitions between different garden areas while maintaining visual cohesion.
Designate a Vegetable Garden in the Shorter Arm
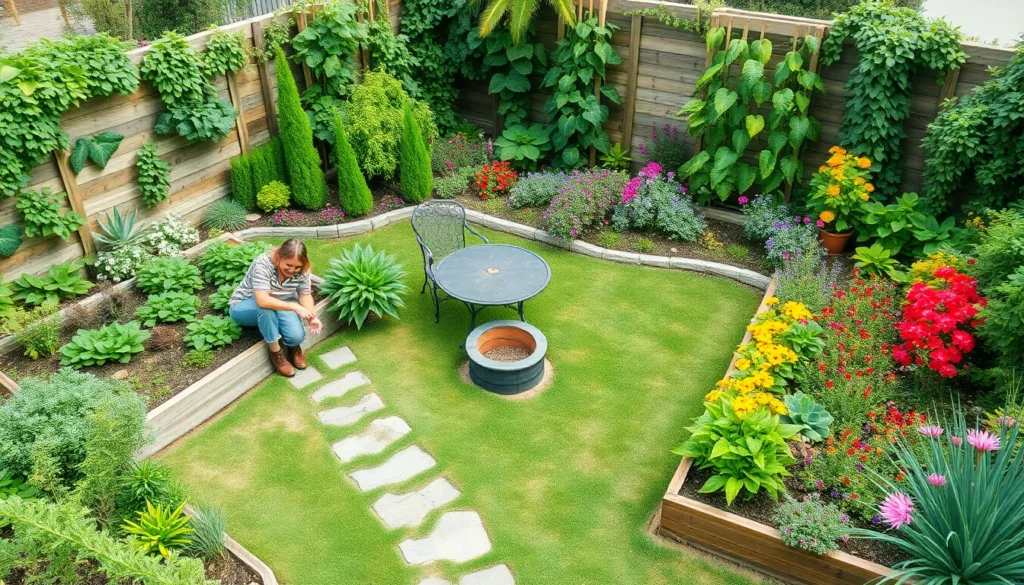
Vegetable gardens thrive in compact L shaped spaces when we position them in the shorter arm section. This placement provides easy access from multiple angles while keeping productive growing areas organized and contained. The shorter section typically receives consistent sunlight throughout the day, making it ideal for tomatoes, peppers, lettuce, and herbs that require steady light exposure.
Raised beds work exceptionally well in this zone because they define the space while improving drainage and soil quality. We recommend installing 4×8 foot raised beds that fit comfortably within the shorter arm without overwhelming the area. These dimensions allow us to reach all plants from the pathways without stepping on the soil.
Vertical growing structures maximize production in limited space while adding height variation to the garden design. Trellises, stakes, and cages support climbing vegetables like beans, peas, and cucumbers along the back edge of the shorter arm. This vertical approach creates a natural backdrop that separates the vegetable zone from other garden areas.
Establish a Flower Garden in the Longer Section
Flower gardens flourish in the longer section of L shaped layouts where we have more room for diverse plantings and sweeping color displays. This extended space accommodates perennial borders, seasonal annuals, and focal point features that create visual interest throughout the growing season. The length allows us to design flowing plant combinations that guide the eye through the garden.
Layered planting schemes work beautifully in longer sections where we can arrange plants by height from front to back. Tall flowers like delphiniums, hollyhocks, and sunflowers create dramatic backdrops along fence lines or property boundaries. Medium height blooms such as roses, peonies, and hydrangeas fill the middle layer with substantial color and form.
Ground level plantings tie the entire flower zone together with low growing options like hostas, coral bells, and ornamental grasses. These foundation plants provide consistent foliage texture while seasonal flowers add changing color throughout spring, summer, and fall months. We suggest choosing plants that bloom at different times to ensure continuous visual appeal.
Add a Herb Garden Near the Kitchen Corner
Herb gardens positioned near kitchen corners provide convenient access to fresh seasonings while utilizing corner spaces that often go unused. This strategic placement connects indoor cooking with outdoor growing, encouraging regular harvesting and maintenance. Corner locations typically benefit from protection on two sides, creating microclimates that suit many culinary herbs.
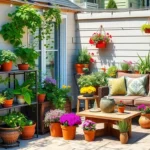
Container herb gardens offer flexibility in corner spaces where soil conditions might be challenging or where we want to control growing conditions precisely. Large pots, window boxes, and tiered planters accommodate basil, oregano, thyme, and rosemary in attractive arrangements. These containers can be moved seasonally or rearranged as herbs mature and spread.
Mediterranean herbs particularly excel in corner locations where reflected heat from nearby structures mimics their native growing conditions. Lavender, sage, and rosemary appreciate the warmth and drainage that corner placements often provide. We can enhance these conditions by adding gravel mulch around the herbs to improve drainage and reflect additional light.
Design a Multi-Level Landscape with Raised Elements
Transforming your L-shaped garden into a ever-changing industry requires vertical thinking that maximizes both space and visual impact. Creating elevation changes throughout your garden design helps establish distinct areas while improving functionality and drainage across the entire layout.
Install Raised Garden Beds for Better Drainage
Raised garden beds revolutionize how we approach L-shaped garden cultivation by solving common drainage challenges. These elevated planting areas allow excess water to flow away naturally, preventing root rot and waterlogged soil conditions that plague ground-level gardens.
Soil quality improves dramatically when we construct raised beds 8 to 12 inches above ground level. We can fill these structures with premium growing medium that drains efficiently while retaining necessary moisture for plant health. This controlled environment lets us customize soil composition for exact plant types across different zones of our L-shaped design.
Strategic placement of raised beds helps define separate garden areas within the L configuration. Installing rectangular beds along the longer arm creates natural pathways, while square beds work perfectly in corner transitions. The varied heights and shapes add architectural interest that transforms flat landscapes into captivating outdoor spaces.
Build Terraced Planting Areas for Visual Interest
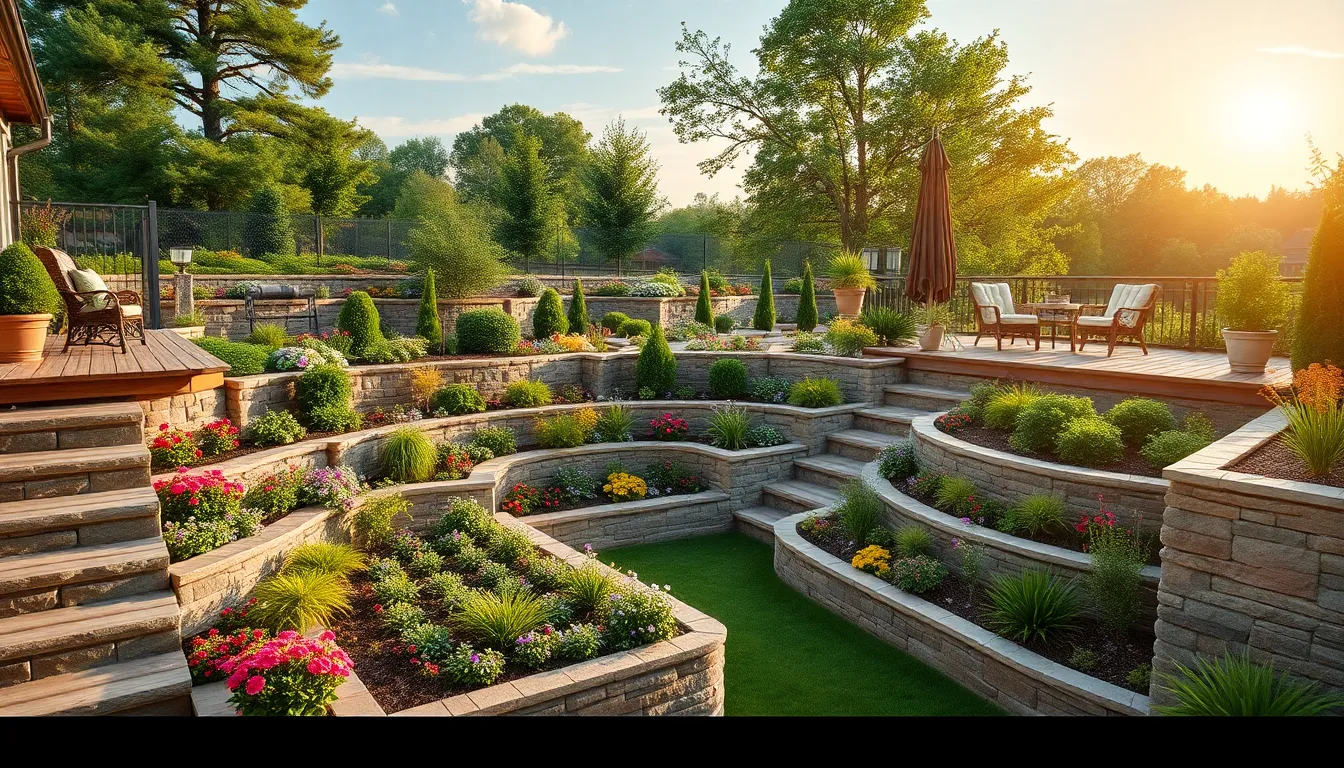
Terraced designs create stunning depth perception that makes L-shaped gardens appear larger and more sophisticated. Building stepped levels at 18 to 24-inch intervals provides multiple planting opportunities while managing slope drainage effectively. These graduated elevations guide the eye naturally through different garden zones.
Each terrace level serves as a distinct microenvironment for exact plant collections. We can dedicate upper terraces to sun-loving perennials while reserving lower levels for shade-tolerant groundcovers. This vertical approach maximizes planting space within the L footprint while creating natural windbreaks and privacy screens.
Stone retaining walls or timber edging materials help define each terraced section clearly. These structural elements prevent soil erosion during heavy rainfall while adding permanent hardscape features that anchor the overall design. The combination of horizontal terraces and vertical walls creates geometric patterns that complement the L-shaped layout.
Construct a Raised Deck or Platform
A raised deck transforms one arm of your L-shaped garden into an elevated outdoor living space. Positioning this platform 12 to 18 inches above ground level creates a commanding view of surrounding plantings while establishing a clear focal point. This elevation change helps separate entertainment areas from growing spaces naturally.
Strategic deck placement in the shorter arm of the L provides intimate seating that overlooks the main garden areas. We recommend using weather-resistant materials like composite decking or treated lumber that withstand constant exposure to irrigation and weather conditions. Built-in planters along deck edges soften the transition between hardscape and industry elements.
Underneath deck spaces offer valuable storage for garden tools and equipment. This hidden storage keeps maintenance supplies accessible while maintaining clean sight lines throughout the garden design. The raised platform also creates partial shade below, perfect for storing sensitive materials or creating additional growing space for shade plants.
Maximize Corner Space with Strategic Focal Points
The interior corner of your L-shaped garden presents unique opportunities to create stunning visual anchors that transform awkward spaces into design highlights. Strategic placement of focal points in these areas draws the eye naturally and encourages movement throughout your garden.
Position a Water Feature at the Interior Corner
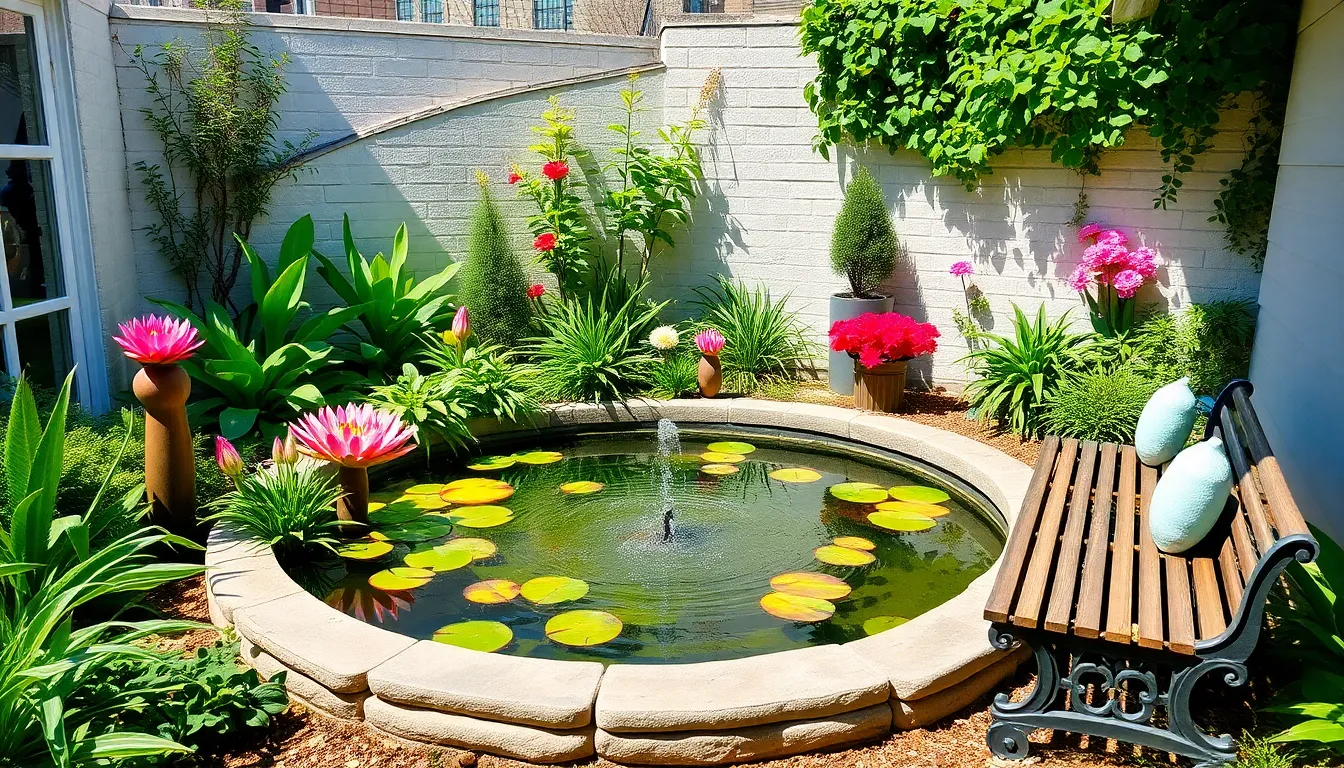
Water features serve as perfect centerpieces for the inner corner of L-shaped gardens. Small ponds create tranquil gathering spots that naturally anchor your entire design while providing soothing sounds throughout the space. Fountains offer vertical interest and mask unwanted noise from neighboring properties or busy streets.
Cascading waterfalls work exceptionally well in corner installations because they use vertical space efficiently. We recommend integrating surrounding plantings with your water feature to soften harsh edges and enhance the natural feel. Position aquatic plants like water lilies or ornamental grasses around the perimeter to create seamless transitions between water and land elements.
Install a Garden Sculpture or Art Piece
Sculptures inject personality into L-shaped corners while creating compelling reasons for visitors to explore different garden zones. Large containers filled with seasonal displays offer flexibility and can be repositioned as your garden evolves throughout the year. Artistic elements placed at the end of each L arm encourage visual flow and break up potentially monotonous sight lines.
Metal sculptures catch light beautifully and create interesting shadow patterns throughout the day. Stone or ceramic pieces provide permanence and weather resistance while complementing natural garden materials. We suggest selecting art pieces that reflect your garden’s overall theme, whether modern, traditional, or eclectic, to maintain design cohesion.
Create a Cozy Seating Nook
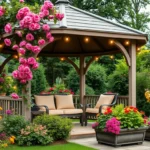
L-shaped gardens naturally create intimate spaces perfect for relaxation and social gatherings. Small decks positioned in corner areas provide elevated vantage points for enjoying your garden’s beauty while defining distinct activity zones. Bistro tables tucked into sheltered corners offer charming spots for morning coffee or evening conversations.
Benches placed along one arm of the L create natural resting points during garden tours or maintenance activities. We recommend using vertical gardening elements like trellises or decorative screens nearby to enhance privacy and create enclosure. Multi-level designs with varying materials such as wood decking paired with stone borders help define seating zones and make them more inviting for extended use.
Plan Pathways That Follow the L-Shaped Flow
We’ll transform your L-shaped garden’s accessibility by designing pathways that work with its natural configuration. Strategic pathway planning helps create smooth transitions between different garden zones while adding visual appeal.
Design a Curved Walkway to Soften Sharp Angles
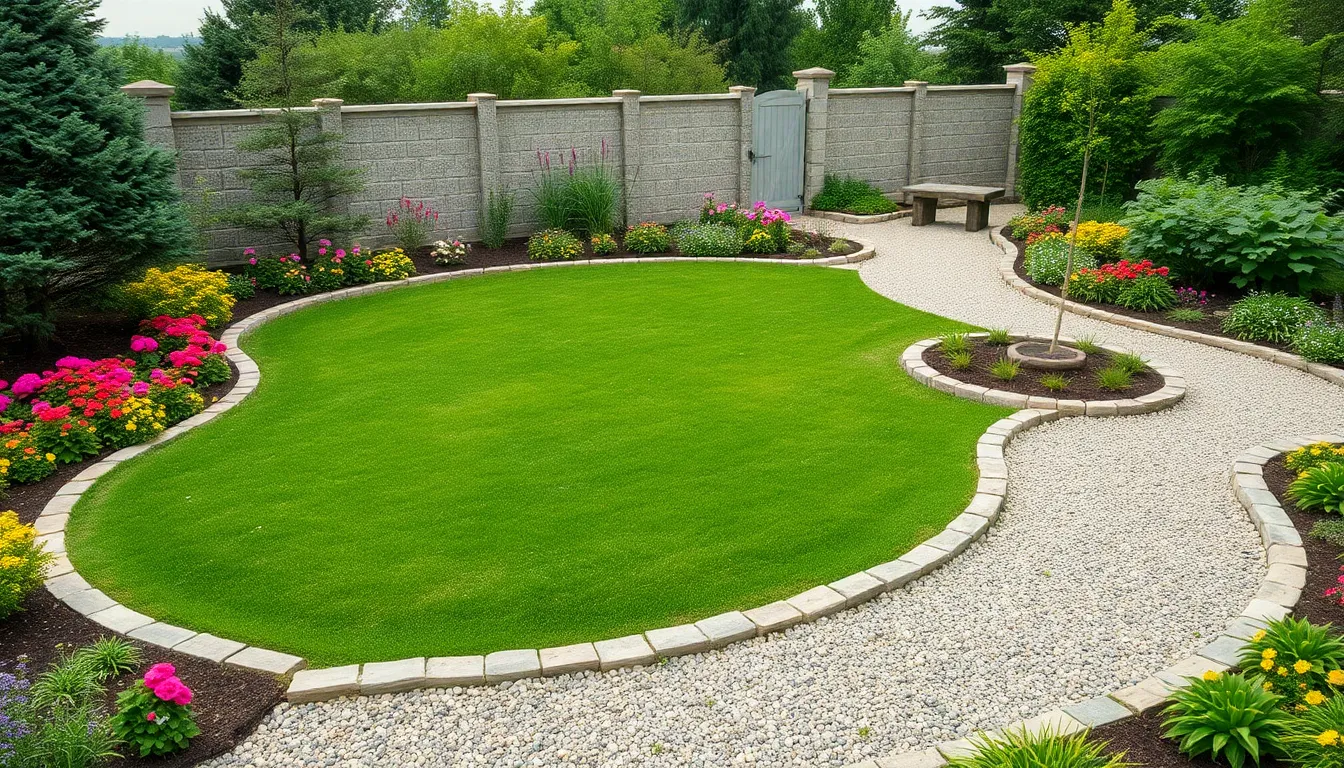
Curved walkways create a more fluid and inviting space by counteracting the rigid geometry of L-shaped gardens. We recommend installing gentle arcs that guide visitors naturally from one section to another, eliminating the harsh transition at the corner junction. These flowing paths draw the eye forward and create a sense of discovery as they reveal new garden areas around each bend.
Serpentine pathways work particularly well when constructed with flexible materials like gravel, mulch, or brick pavers. We suggest using edging materials such as natural stone or metal strips to maintain clean curves while preventing pathway materials from spreading into planted areas. This design technique makes your garden feel larger by creating longer sight lines and adding visual interest to otherwise predictable straight edges.
Install Stepping Stones Through Garden Beds
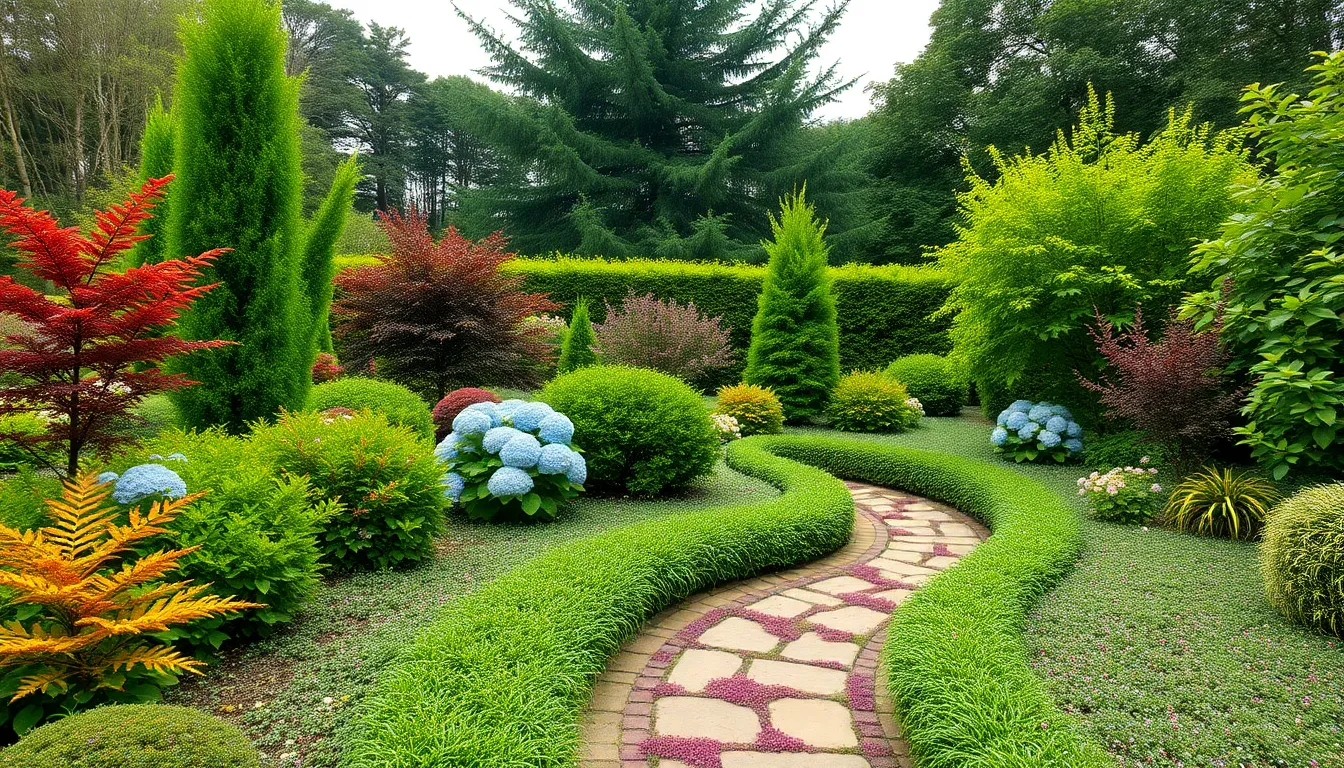
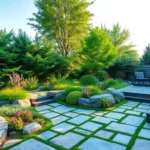
Stepping stones provide functional access while creating meandering paths that add visual texture to your industry design. We position these stones strategically to allow maintenance access to deeper garden beds without compacting soil or damaging plants. Natural flagstone or concrete pavers spaced 18 to 24 inches apart accommodate comfortable walking while maintaining proper weight distribution.
Irregular placement of stepping stones creates a more organic feel that complements curved planting schemes. We recommend embedding stones slightly below ground level to prevent tripping hazards and ensure easy mowing around edges. These pathways work exceptionally well when surrounded by low growing ground covers like creeping thyme or moss, which soften the stone edges and create living pathways.
Create Separate Access Points for Each Section
Multiple entry points maximize the functionality of L-shaped gardens by providing direct access to distinct activity zones. We design primary access from your home’s main outdoor entrance, with secondary pathways leading to specialized areas like vegetable gardens, seating nooks, or storage zones. This approach eliminates the need to walk through the entire garden to reach exact destinations.
Strategic gate placement or pathway intersections help define separate zones while maintaining overall garden unity. We suggest positioning access points based on intended use patterns, placing herb garden entrances near kitchen doors and recreational area access near main living spaces. Clear pathway connections between sections ensure smooth flow while allowing each zone to maintain its unique character and purpose.
Utilize Vertical Growing Techniques for Space Efficiency
We can transform our L-shaped garden’s challenging dimensions into valuable growing opportunities by maximizing vertical space. Growing upward rather than outward becomes essential when working with limited ground area.
Install Trellises Along Fence Lines
Installing trellises along existing fence lines creates stunning green walls without sacrificing precious ground space. We’ll mount these structures directly onto perimeter fencing to support climbing plants like clematis, morning glories, or flowering vines. Wooden lattice panels work exceptionally well for heavier climbers such as grape vines or climbing roses, while wire mesh systems accommodate lighter plants like sweet peas or nasturtiums.
Position trellises at varying heights to create ever-changing visual layers throughout our L-shaped garden’s borders. We can attach multiple trellis panels in staggered arrangements, allowing different plant varieties to flourish at their preferred growing heights. This technique transforms plain fence lines into living architectural features that provide privacy screening and seasonal interest.
Add Wall-Mounted Planters on Adjacent Structures
Adding wall-mounted planters to garage walls, garden sheds, and other adjacent structures multiplies our planting capacity instantly. We’ll select lightweight containers made from materials like fiberglass, resin, or galvanized metal to prevent structural damage to mounting surfaces. Tiered planting systems work particularly well for herbs like basil, oregano, and thyme, creating convenient kitchen gardens within arm’s reach.
Install planters at comfortable working heights, typically between 24 to 48 inches from ground level for easy maintenance access. We can arrange containers in vertical columns or zigzag patterns to maximize visual impact while ensuring each plant receives adequate sunlight. Drip irrigation systems integrated into wall-mounted setups reduce daily watering requirements and maintain consistent moisture levels.
Grow Climbing Plants on Pergolas or Arbors
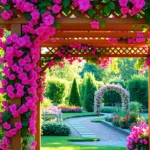
Growing climbing plants on pergolas or arbors positioned at the L-shaped junction creates stunning overhead canopies that define separate garden zones. We’ll construct these structures using cedar, pressure-treated lumber, or powder-coated metal frameworks that withstand weather exposure and support vigorous climbers. Wisteria, climbing hydrangeas, and trumpet vines provide exceptional coverage while delivering seasonal flowers and fragrance.
Place pergolas strategically to connect the two arms of our L-shaped garden, creating natural walkways that guide visitors between different planting areas. We can incorporate built-in seating beneath these structures, transforming them into shaded retreats during hot summer months. These vertical growing features also provide partial shade for sensitive plants positioned underneath, creating beneficial microclimates within our garden design.
Balance Plant Heights Throughout Both Garden Arms
Creating visual harmony in an L-shaped garden requires thoughtful distribution of plants across different height levels. We’ll achieve the most stunning results by preventing one arm from appearing visually heavier than the other through strategic plant placement.
Place Tall Plants at the Back of Each Section
Positioning tall plants at the outer edges creates natural boundaries that anchor your garden design. Trees and large shrubs work exceptionally well as backdrop elements, defining the visual perimeter of each garden arm. We recommend selecting specimens like ornamental maples, evergreen conifers, or flowering dogwoods that provide year-round structure.
Architectural plants serve as living walls that frame your garden views perfectly. Large shrubs such as rhododendrons, viburnums, or boxwood hedges establish clear sight lines while maintaining privacy. These backdrop plantings also create microclimates that protect smaller plants from harsh winds and intense sunlight.
Strategic placement of tall specimens draws the eye upward and outward through both garden sections. Consider installing columnar trees like Italian cypress or sky pencil holly at corner transitions to emphasize the L-shaped flow. This vertical emphasis prevents the garden from appearing flat or one-dimensional.
Use Medium-Height Plants for Transition Areas
Medium-height plants bridge the gap between towering specimens and ground-level plantings seamlessly. Perennials like ornamental grasses, hydrangeas, and medium shrubs create natural layering that feels organic and inviting. We suggest incorporating plants that reach 3-4 feet in height for optimal transition effects.
Flowering shrubs add seasonal interest while maintaining consistent structure throughout both garden arms. Azaleas, spireas, and weigela provide colorful blooms during growing seasons while offering attractive foliage year-round. These transitional plants soften harsh height changes and create visual flow between different planting zones.
Ornamental grasses excel at creating movement and texture in transition spaces. Fountain grass, feather reed grass, and blue fescue add gentle motion while requiring minimal maintenance. Their natural swaying creates ever-changing visual interest that connects different areas of your L-shaped design.
Add Ground Cover Plants Along Pathways
Ground cover plants create continuity along pathways while controlling weeds naturally. Low-growing options like creeping thyme, ajuga, and pachysandra spread efficiently to fill gaps between stepping stones and pathway edges. We’ve found these plants particularly effective at softening hard landscaping elements.
Textural ground covers enhance pathway appeal through varied foliage patterns and colors. Hostas, coral bells, and lungwort provide diverse leaf shapes and seasonal color changes that keep pathways visually captivating. These plants also help define walking areas without creating physical barriers.
Strategic ground cover placement guides visitors naturally through both arms of your garden. Installing bands of consistent ground cover plants creates visual pathways that encourage exploration of different garden zones. This technique helps unify the overall design while maintaining distinct character in each section.
Incorporate Outdoor Living Spaces in Each Section
L-shaped gardens naturally lend themselves to functional zoning, allowing different activities to coexist without interference. We’ll transform each section into distinct purpose-built outdoor living spaces that create flow and enhance your garden’s overall usability.
Design a Dining Area in the Wider Portion
Position your dining area in the wider section where you’ll have ample space for outdoor furniture and comfortable movement. This strategic placement ensures guests can easily navigate around tables and chairs during family meals or entertaining sessions. We recommend choosing weather-resistant dining sets that complement your garden’s aesthetic while providing durability for year-round use.
Create adequate space for hosting by measuring your dining furniture requirements before finalizing the layout. Tables typically need 3-4 feet of clearance on all sides for comfortable seating and serving access. Adding an outdoor umbrella or pergola overhead provides shade protection during daytime dining experiences.
Consider proximity to your home when positioning the dining area for convenient food service and cleanup. Installing outdoor lighting fixtures extends dining hours into evening entertainment periods. We suggest incorporating storage answers like weather-proof cabinets for dining accessories and outdoor cushions.
Create a Reading Corner in the Quieter Arm
Transform the quieter arm into a peaceful reading retreat where soft landscaping and comfortable seating combine for ultimate relaxation. This secluded stretch naturally provides the tranquility needed for focused reading or meditation sessions. We recommend adding a bench, comfortable outdoor chair, or hammock surrounded by raised planters filled with aromatic herbs or flowering plants.
Enhance privacy with strategic plant placement using taller shrubs or ornamental grasses that create natural screening. Adding a small side table provides surface space for books, beverages, or reading accessories. We suggest incorporating weather-resistant cushions and throws for added comfort during extended reading sessions.
Consider wind protection and lighting needs for your reading corner to ensure year-round usability. Installing a small outdoor lamp or solar-powered lighting creates ambiance for evening reading. Adding a storage bench serves dual purposes by providing seating and concealed storage for outdoor reading materials.
Add a Fire Pit for Evening Entertainment
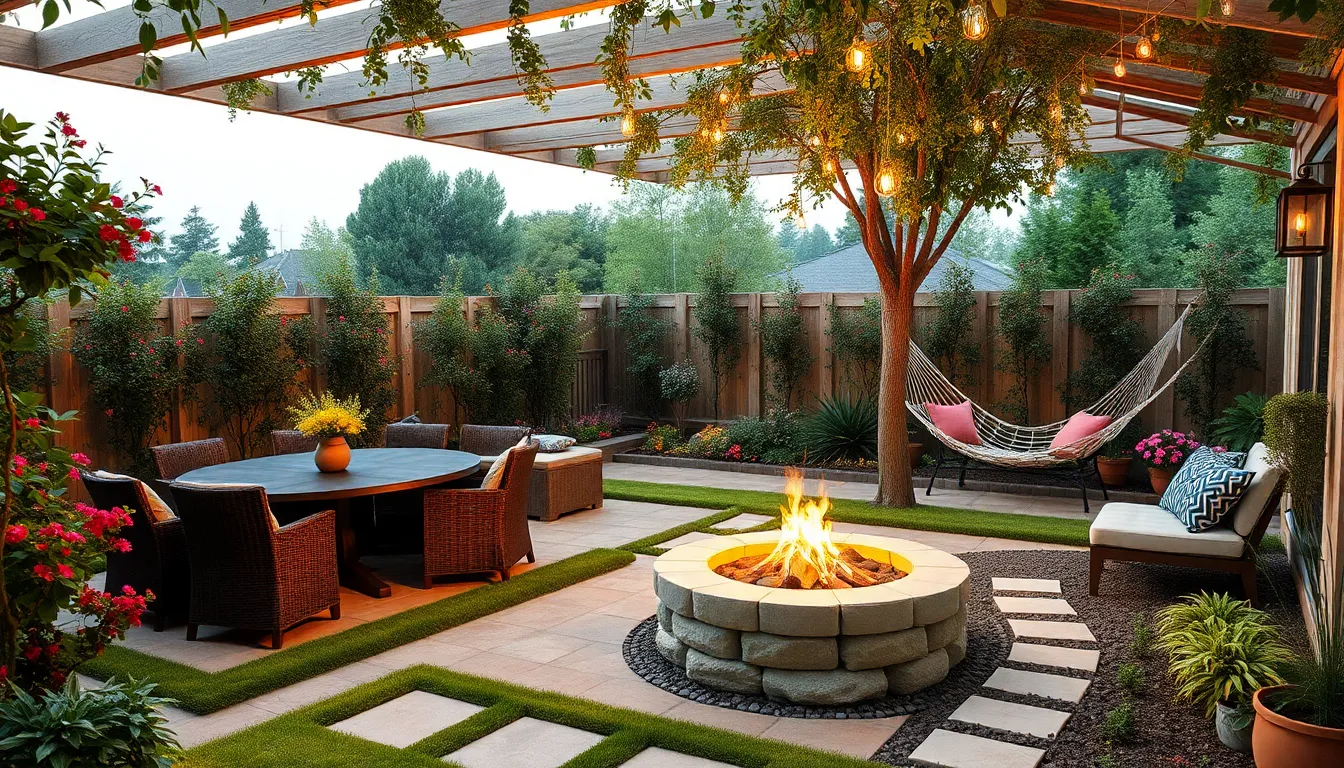
Install a fire pit as your garden’s social focal point that encourages evening gatherings and extends outdoor living hours. This central feature works effectively in either the dining area or a dedicated third zone within your L-shaped layout. We recommend choosing between portable fire bowls for flexibility or permanent stone fire pits for lasting durability.
Ensure proper spacing and safety measures by maintaining 10-15 feet clearance from structures and overhanging branches. Surrounding the fire pit with comfortable seating creates an intimate conversation circle for family and friends. Adding fire-resistant materials like gravel or stone pavers beneath the fire pit protects your lawn and provides stable footing.
Connect fire pit areas with pathways using stepping stones or decorative pavers that improve accessibility between garden zones. Installing subtle pathway lighting guides visitors safely during evening hours. We suggest adding storage nearby for firewood, fire tools, and outdoor blankets to enhance the overall entertainment experience.
Connect Both Garden Sections with Unifying Elements
Creating visual harmony between both arms of your L-shaped garden requires strategic design elements that tie the separate spaces together seamlessly.
Use Consistent Color Schemes Throughout
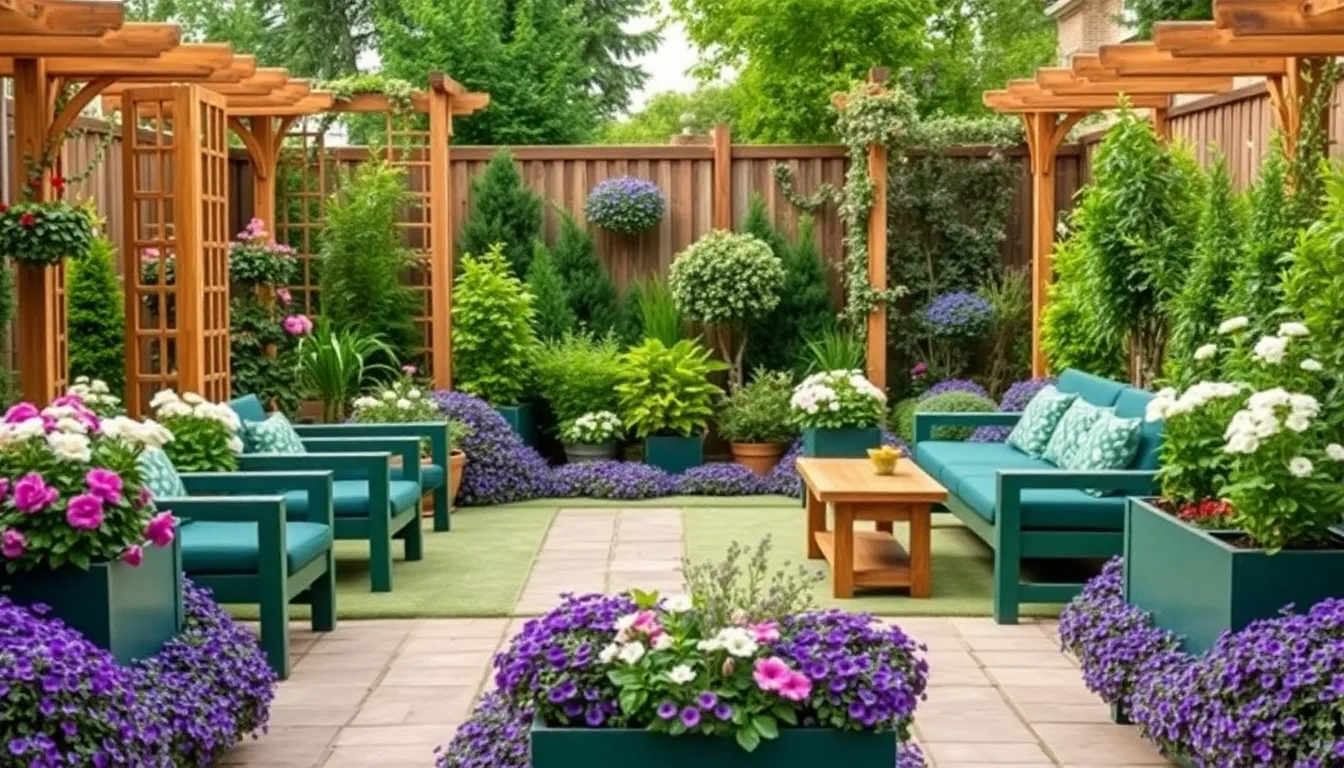
Color coordination serves as the foundation for visual unity in L-shaped gardens. We recommend selecting a primary color palette of 3-4 hues that appear in both garden sections through flowering plants, foliage, and decorative elements. Purple and white combinations work exceptionally well, featuring lavender, catmint, and white roses in the shorter arm while incorporating purple salvia and white hostas in the longer section.
Garden furniture color matching amplifies the cohesive design approach. Choose outdoor furniture pieces in unified colors like deep green metal chairs, natural teak benches, or white resin planters that appear in both garden areas. This repetition creates visual anchors that help the eye travel smoothly between spaces.
Seasonal color planning ensures year round visual connection. Plant spring bulbs like purple crocuses and white daffodils in both arms, followed by summer annuals such as purple petunias and white alyssum. Fall chrysanthemums in matching colors maintain the scheme throughout changing seasons.
Repeat Plant Varieties in Both Arms
Symmetrical plant placement creates instant visual rhythm between garden sections. We suggest positioning identical shrubs like boxwood or ornamental grasses at corresponding points in each arm of the L-shaped layout. Three dwarf Alberta spruces in the first section balanced by three matching specimens in the second area establishes clear symmetry.
Repeating flower varieties reinforces the unified garden theme. Plant the same perennial combinations in both spaces, such as black-eyed Susans paired with purple coneflowers, or hostas mixed with astilbe. These recurring plant partnerships create familiar visual patterns that connect the separate garden zones.
Strategic plant groupings enhance the repetition effect. Group plants in odd numbers like clusters of 3 or 5 throughout both garden arms, maintaining consistent spacing patterns. This mathematical approach to plant placement creates predictable rhythm that guides visitors naturally through your L-shaped space.
Install Matching Garden Structures
Identical architectural elements serve as visual bridges between garden sections. Install matching trellises, arbors, or pergolas in corresponding locations within each arm of your L-shaped garden. Cedar lattice panels measuring 6 feet tall work perfectly as backdrop structures in both areas, supporting climbing roses or clematis vines.
Coordinated hardscape features strengthen the design connection. Place identical planters, benches, or decorative screens in both garden sections, ensuring they match in material, size, and style. Two rectangular cedar planters positioned at the entrance of each garden arm create welcoming focal points while maintaining design consistency.
Vertical gardening structures maximize space while improving unity. Mount matching wall planters or hanging baskets on adjacent structures in both garden areas, filling them with identical plant combinations. These elevated growing spaces not only increase planting capacity but also create overhead visual connections that link the separate L-shaped sections together.
Conclusion
L-shaped gardens offer incredible potential when approached with thoughtful planning and creative design strategies. We’ve explored how these unique spaces can be transformed into functional multi-zone environments that maximize both beauty and practicality.
The key lies in embracing the natural division that L-shaped layouts provide while creating visual connections between both arms. Through strategic zoning vertical elements raised features and carefully planned pathways you can create an outdoor space that feels cohesive yet purposefully diverse.
Remember that success comes from balancing functionality with aesthetics. Whether you’re installing water features creating cozy seating areas or establishing productive growing zones each element should contribute to the overall harmony of your garden design.
Your L-shaped garden isn’t a limitation—it’s an opportunity to create something truly special that reflects your lifestyle and enhances your outdoor living experience.
Frequently Asked Questions
What are the main advantages of having an L-shaped garden?
L-shaped gardens offer unique opportunities to create distinct zones that enhance both functionality and visual appeal. Rather than viewing the unusual shape as a limitation, these gardens allow homeowners to establish separate areas for different purposes, such as vegetable growing, flower displays, and outdoor living spaces, while maximizing the use of available space.
How should I divide my L-shaped garden into functional zones?
Use the natural divisions of your L-shaped layout to create distinct areas. Designate the shorter arm for a vegetable garden where you can easily access crops and ensure consistent sunlight. Reserve the longer section for a flower garden with diverse plantings and vibrant color displays, and consider placing an herb garden near kitchen corners for convenient cooking access.
What are the best plants for the different sections of an L-shaped garden?
For the vegetable section, choose crops that benefit from easy access and consistent sunlight. In the flower section, use layered planting schemes with tall flowers at the back and low-growing plants at the front. For herb gardens near the kitchen, Mediterranean herbs work particularly well in warm, protected spaces and containers for flexibility.
How can I make the most of corner spaces in my L-shaped garden?
Maximize corner areas by installing strategic focal points like water features, garden sculptures, or art pieces. Create cozy seating nooks with small decks or bistro tables to define distinct activity zones. Position features at the interior corner to create tranquil gathering spots and encourage exploration of different garden areas.
Should I use raised beds in my L-shaped garden?
Yes, raised garden beds are highly recommended for L-shaped gardens. They improve drainage and soil quality, help define separate areas within the layout, and make gardening more accessible. Raised beds also add visual structure and can be strategically placed to create natural boundaries between different garden zones.
How do I create effective pathways in an L-shaped garden?
Design curved walkways that follow the L-shaped flow to soften sharp angles and create a more inviting space. Use stepping stones for functional access and visual texture, and plan multiple entry points to maximize functionality. Pathways should guide visitors naturally through the garden while connecting different zones seamlessly.
What vertical growing techniques work best for L-shaped gardens?
Install trellises along fence lines to create green walls for climbing plants, and add wall-mounted planters to increase planting capacity. Consider pergolas or arbors at the junction of the L-shape to provide overhead canopies that define zones and create shaded retreats while maximizing vertical growing space.
How can I create visual harmony between both arms of my L-shaped garden?
Use consistent color schemes and repeat plant varieties throughout both sections. Install matching garden structures and coordinate hardscape features to serve as visual bridges. Plan seasonal colors strategically and use symmetrical plant placement to create visual rhythm while maintaining the distinct character of each zone.
What outdoor living spaces work well in L-shaped gardens?
Design a dining area in the wider portion with weather-resistant furniture and ample space for movement. Create a quiet reading corner in the narrower arm with comfortable seating and privacy-enhancing plants. Consider adding a fire pit as a social focal point, ensuring proper spacing and safety measures with connecting pathways.
How do I balance plant heights in an L-shaped garden?
Place tall plants at the back of each section to establish natural boundaries and anchor the design. Use medium-height plants as transitional elements between different areas. Install ground cover plants along pathways to create continuity, control weeds, and guide visitors through the garden while maintaining visual appeal.
